

Borderlands 4: Wrath of the Ripper Queen
A complete walkthrough for Callis's command bolt questline
Wraith of the Ripper Queen is the seventh main mission in Borderlands 4 if you choose to focus on Callis as the second Timekeeper commander questline. She's in Carcadia Burn, far to the northwest side of the map, directly north of Outbounder HQ.
This walkthrough will guide you through Wrath of the Ripper Queen as you aim to obtain Callis's command bolt.
Quick Navigation
Borderlands 4 Ripper Queen Mission: Respond to the Distress Call
Zadra provides a bit more info about the command bolt as you enter Carcadia Burn. She says Callis ripped her own bolt out, and it now belongs to a group called the Electi.
Mission Start
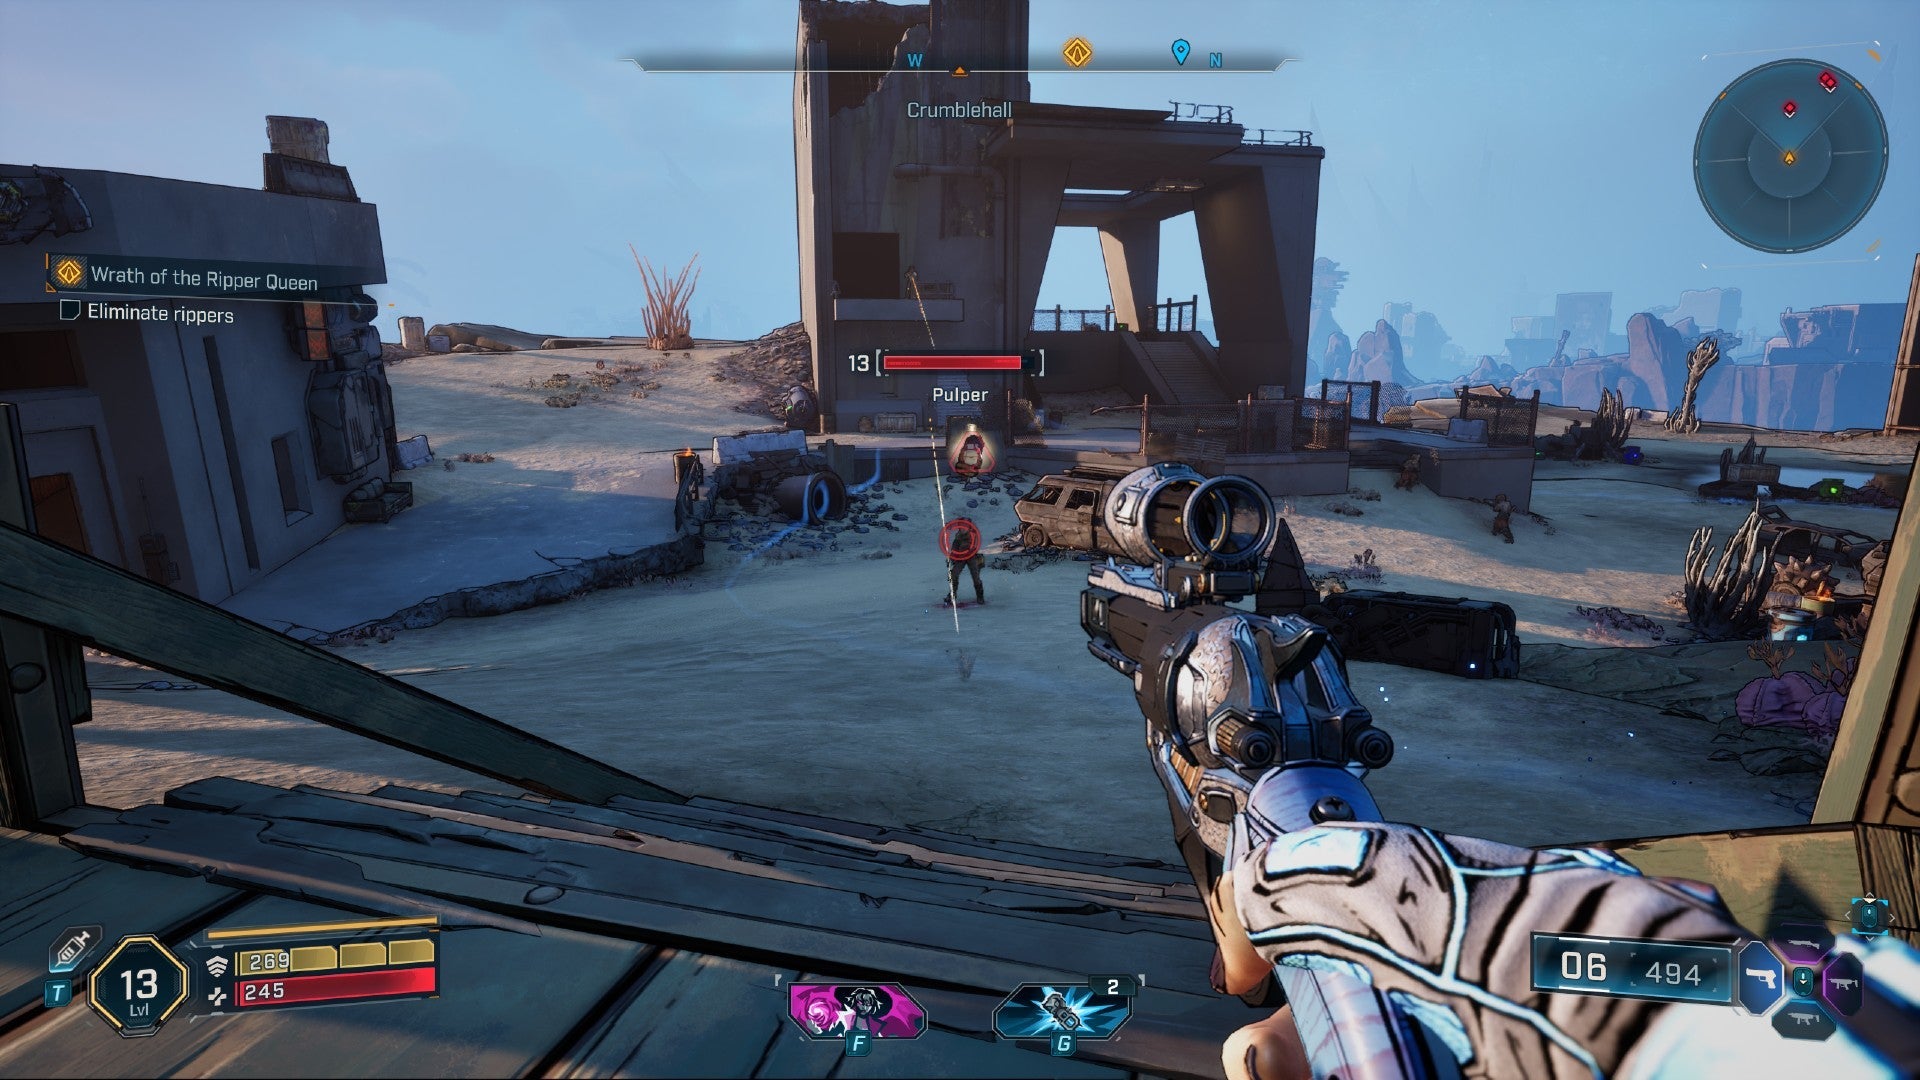
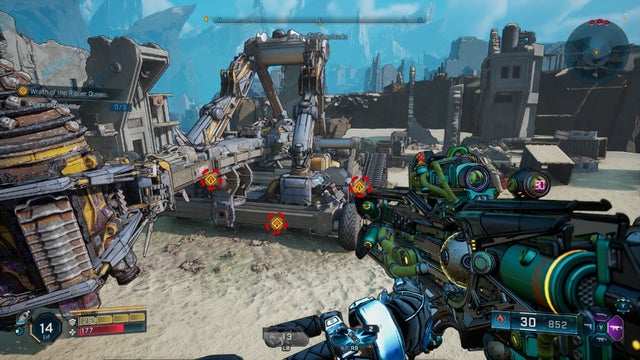
Wrath of the Ripper Queen officially begins once you get a distress call from someone named Quent, soon after entering Carcadia Burn. Drive all the way to the Crumblehall point of interest in the Grindstone of the Worthy area of Carcadia Burn.

Crumblehall location in Borderlands 4

Ripper enemies gathered near Quent
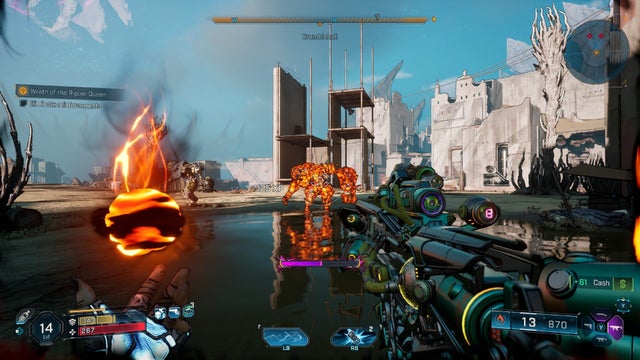
Defeat the Rippers gathered near Quent at the Crumblehall when you arrive. The majority of them have no shields or armor, so Incendiary damage works best here. Even the larger Meathead enemy only has a flesh health bar.
Pro Tip:
Use Incendiary weapons and grenades for maximum effectiveness against the Rippers' red health bars.
Speak to Quent after the battle, then follow him until you're attacked again a few seconds later. These Rippers are similar to the previous ones – use Incendiary and fire damage to deal with their red health bars.
Continue following Quent after the fight, and he'll bring you to a small Electi hideout to call Levaine, the person Zadra told you to find.
Optional Objective:
Before triggering the call, you can speak to the two survivors on either side of Quent as an optional objective. They give you a bit of info about Levaine and the Electi. Speak to Quent after those two conversations.

Borderlands 4 Electi Faction: A Favor for Levaine
Levaine won't hear you out about the command bolt until you help her with a favor. She wants you to extend a nearby bridge first. Exit the hideout, and you'll see an objective marker near where you fought the Rippers.

Bridge control panel location
Climb the scaffolding to reach controls
Climb the scaffolding to find a control panel that should extend the bridge. Of course, this favor couldn't be as simple as flipping a switch. The bridge controls don't work, so instead, you need to stop a siege to save the Electi.
Navigation Tip:
Follow the ECHO Location line and objective marker directly west to the Ruined Sumplands. You're looking for a spot north of Woncewas Townhouse, just past the Rustspires point of interest in that zone.
Borderlands 4 Rustspires Ripper Camp Strategy
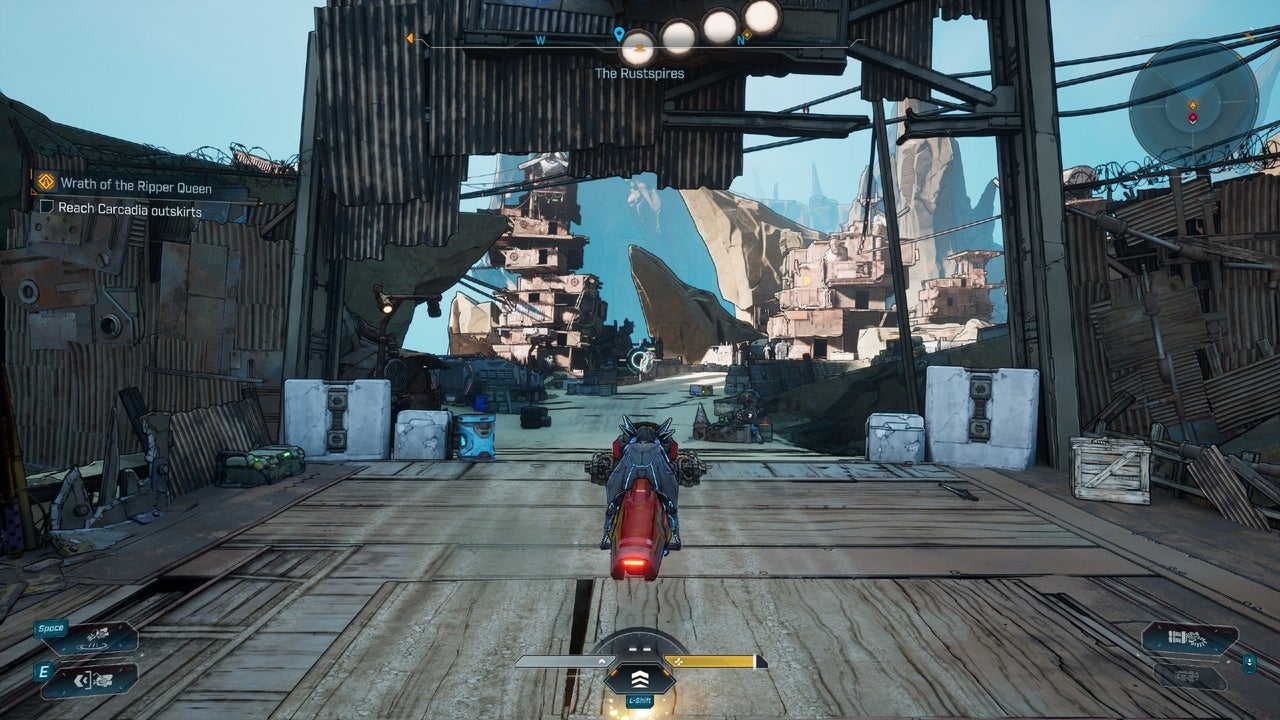
The Rustspires is a Ripper camp, so you need to fight through it to get to the objective on the other side. These are the same kinds of enemies you just fought outside of the Electi hideout, so bring an Incendiary option.
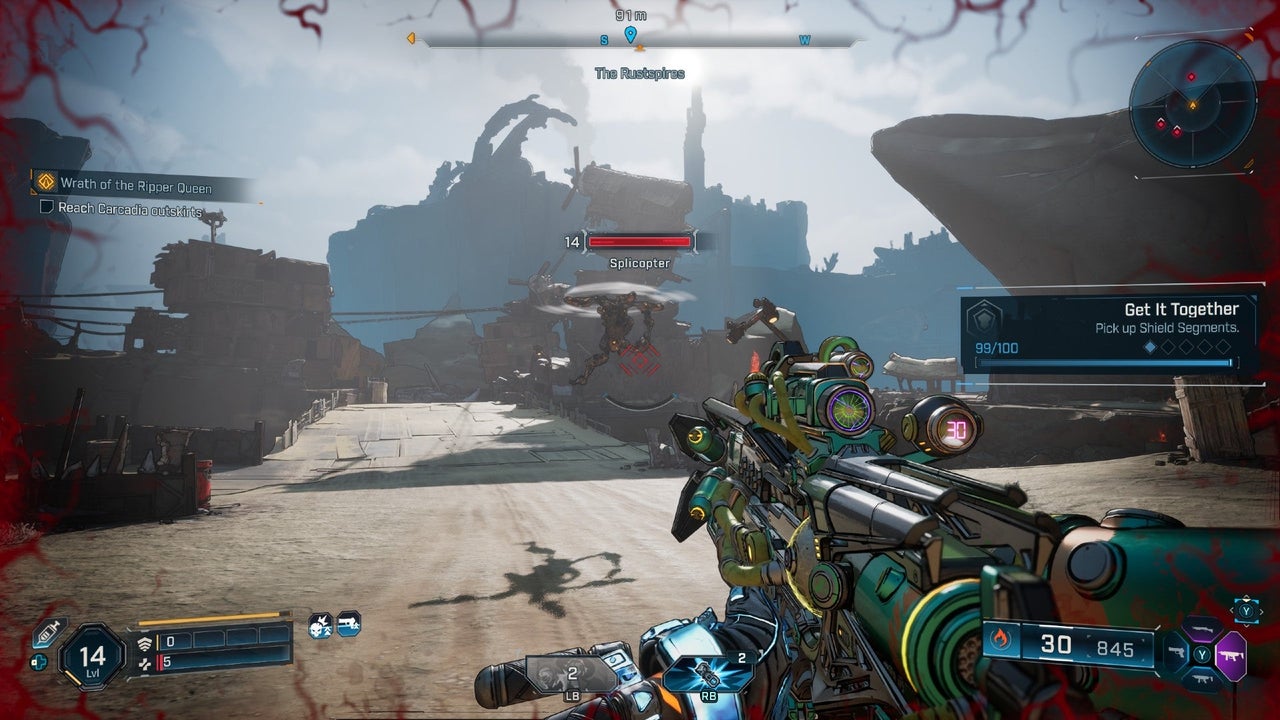
New Enemy: Splicopter
The Splicopter enemy is new, but it also has just a flesh health bar with no shield or armor. It flies around like the Witnesse robots that get summoned by the Order Wardens, but instead of shooting bullets, the Splicopter drops bombs in all directions.
Badass Rat-a-tat
There's also a Badass Rat-a-tat to look out for, but every single enemy here shares the same fire weakness. Switch to Shock weapons if they have shields, then back to Incendiary for health.
Quent is waiting for you on top of a partially destroyed building when you arrive. Speak to him to receive some explosives that you'll need to destroy the catapult in the distance.
Borderlands 4 Catapult Destruction Mission
Fight your way through more Rippers alongside Quent to reach the catapult directly east of the destroyed building you were just standing on.

Plant the explosives on the three marked spots on the catapult – one in front, and one on either side. A Badass Psycho will spawn nearby when you get close to the catapult, so watch out for him as he sprints toward you.
Combat Tip:
Deal with the Badass Psycho first before planting explosives. Use cover and aim for critical hits to take him down quickly.
Back up and take cover next to Quent once the explosives are in place.
Borderlands 4 Ripper Queen Bar Encounter
Unsurprisingly, the explosives are duds. However, Quent has a backup plan that Levaine isn't too fond of. Follow him to a nearby bar to find out what he has in mind.
There are a few more Rippers to defeat along the way, and eventually, you'll make it to the front of the huge bar where even more Rippers are waiting, including another Badass Rat-a-tat.
Enemy Strategy:
This Badass has a shield, so you should go from Shock to Incendiary while using Corrosive on his turrets. Focus on eliminating the smaller Rippers first to reduce the number of incoming attacks.

The bar will open up when the area is clear. Follow Quent inside to reunite with two familiar faces from previous Borderlands adventures. This mission ends once the intro cutscene is over.
Spoiler Alert:
Long-time Borderlands fans will be delighted to see the return of two fan-favorite characters in this bar scene, setting up the next chapter in your quest for Callis's command bolt.
Borderlands 4 Ripper Queen Enemy Types & Strategies
Standard Rippers
These are the most common enemies you'll encounter. They have:
- No shields or armor
- Red health bars weak to Incendiary damage
- Moderate speed and aggression
Strategy: Use fire-based weapons for quick elimination.
Meathead Brutes
Larger, stronger versions of standard Rippers:
- Increased health pool
- Powerful melee attacks
- Still vulnerable to Incendiary damage
Strategy: Keep your distance and aim for critical spots.
Splicopters
Flying enemies that present a unique challenge:
- Aerial mobility
- Bomb-dropping attack patterns
- Flesh health bars with no additional protection