
Borderlands 4: The Kairos Job Walkthrough
Your complete guide to completing The Kairos Job side mission in Borderlands 4, including how to unlock it, walkthrough steps, and rewards.
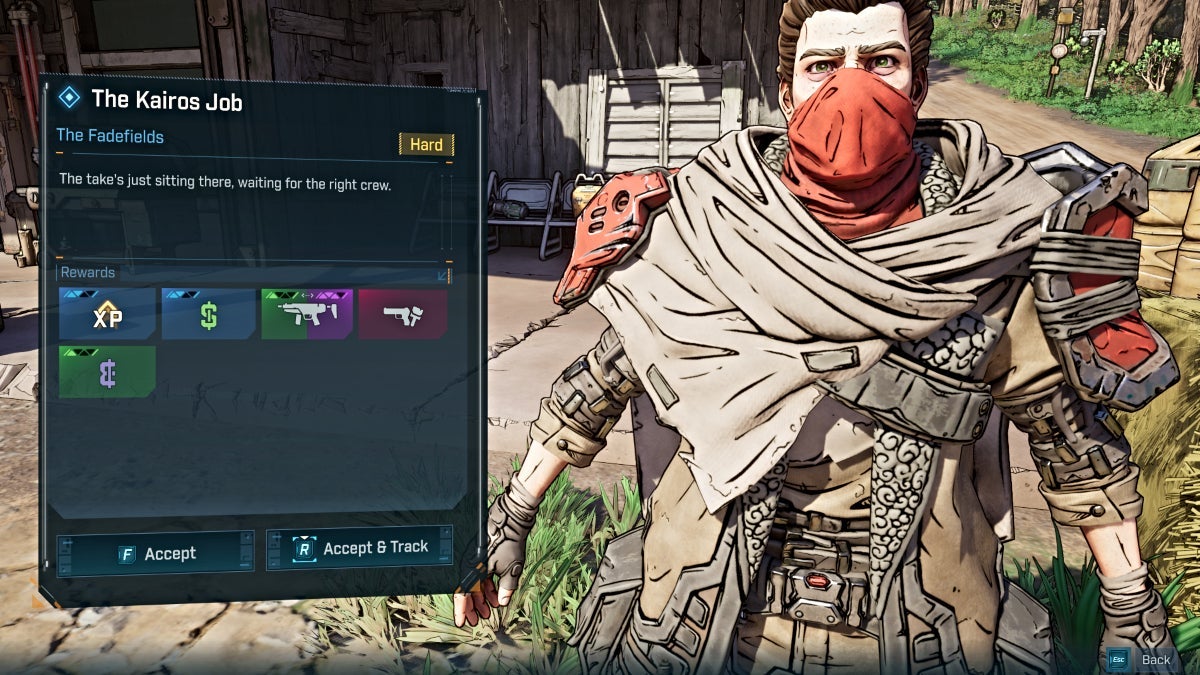
This comprehensive walkthrough will guide you through The Kairos Job side mission in Borderlands 4. Follow our step-by-step objectives to successfully complete this exciting heist mission and claim your rewards.
Table of Contents
How to Unlock The Kairos Job in Borderlands 4
Complete One Fell Swoop
You need to complete the "One Fell Swoop" main mission first before unlocking The Kairos Job side mission. This main story mission serves as a prerequisite and introduces you to the area where The Kairos Job takes place.
Borderlands 4 Shim Location
Once unlocked, you can start the side mission by talking to Shim at The Launchpad, southeast of The Howl. Shim can be found near the house in the northern part of The Launchpad.
Shim is a seasoned criminal mastermind who's planning the ultimate heist, and he needs a skilled Vault Hunter like you to pull it off. When you approach him, he'll give you a brief overview of the job before sending you to recruit his crew.
Borderlands 4 The Kairos Job Walkthrough Guide
List of Objectives
- Recruit Kilo and Glitch
- Get on Warehouse Roof
- Infiltrate Warehouse
- Travel to Safe's New Location
1. Recruit Kilo and Glitch
Walkthrough Steps:
Once you've accepted the quest, walk with Shim. He'll then ask you to recruit Kilo and Glitch, which are each separate side missions.
Talk to Shim again to accept both the "Scoundrel Roundup: Kilo" and "Scoundrel Roundup: Glitch" side missions. These are short missions that only require you to complete simple tasks in order to recruit them.
After recruiting Kilo and Glitch, return to Shim and enter his house to go over the plan. This cinematic scene sets up the heist and introduces you to the team dynamics.

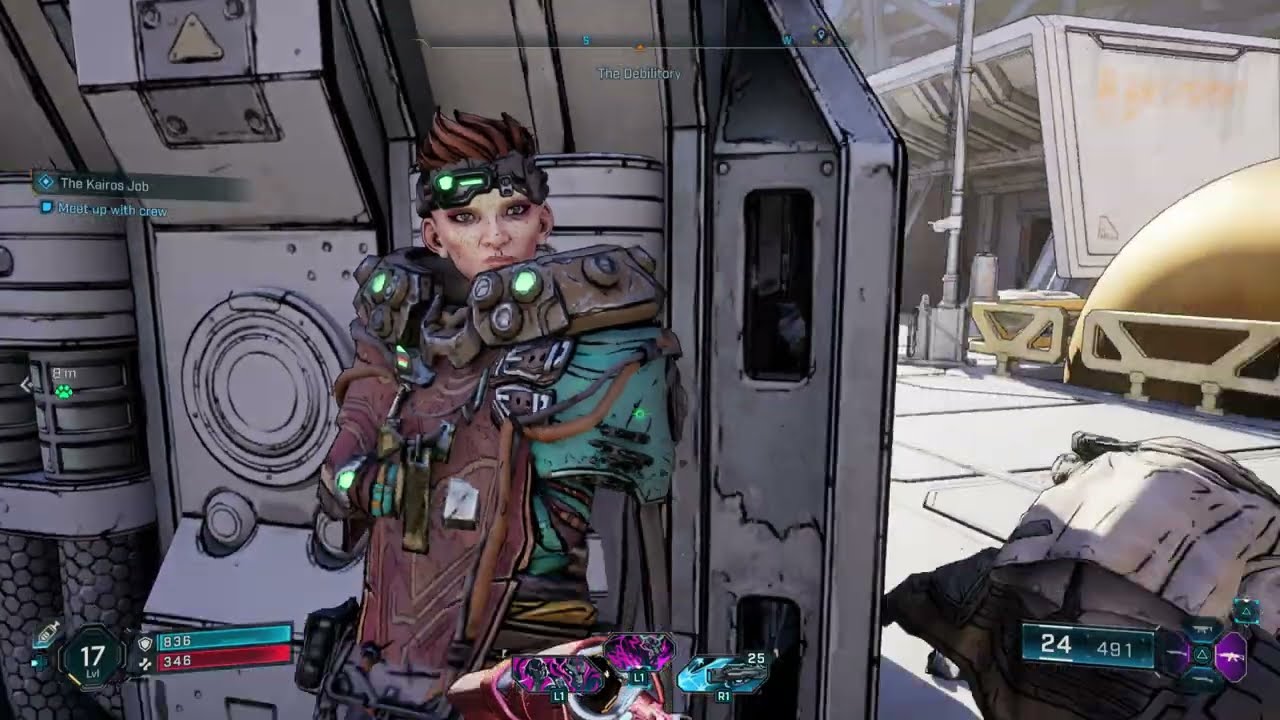
Head northeast to The Debilitory, located in the northern part of Hungering Plain. Enter the house south of the warehouse and go upstairs to rendezvous with your crew. Then, take the electro charges from Glitch.
2. Get on Warehouse Roof
Walkthrough Steps:
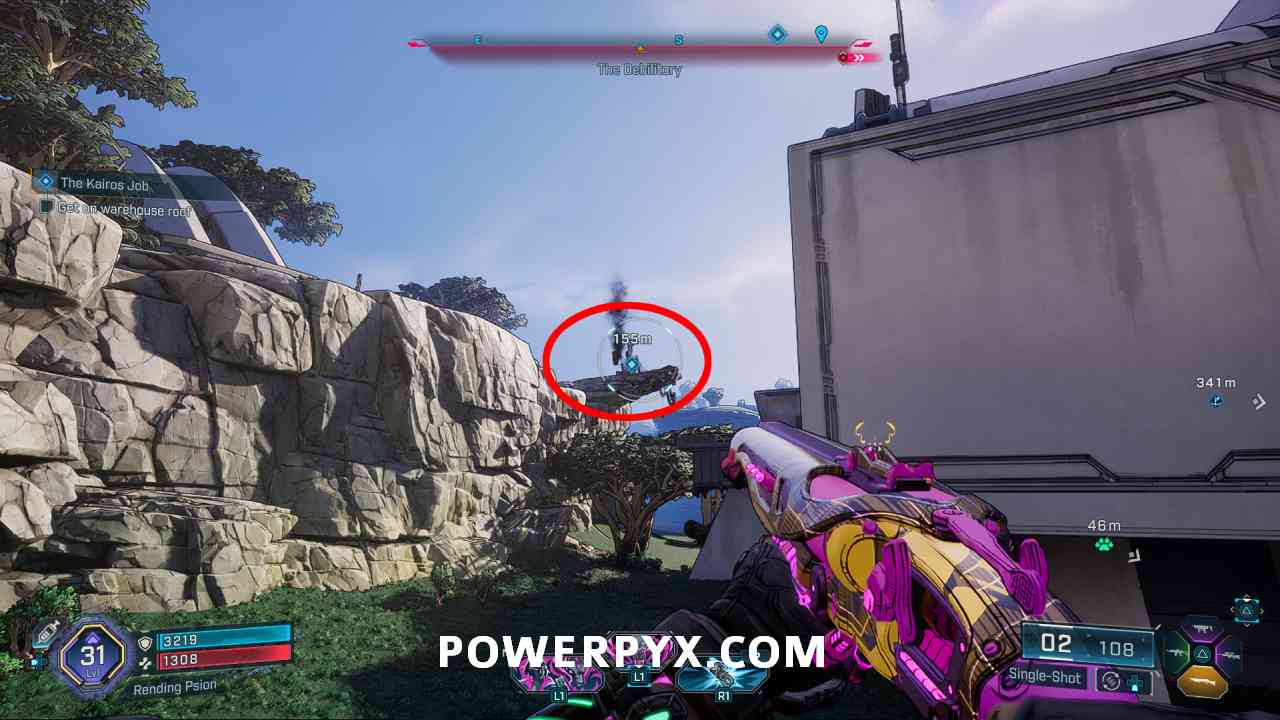
To get on the roof of The Debilitory, head through the cave north of the warehouse and climb up to higher ground.

Make your way southeast until you reach a platform by the cliff overlooking the warehouse. Jump and glide to the roof using your O₂ kit or any mobility gear you have equipped.

Once you land, kill the Order warehouse guards. You'll then need to place the electro charges on four arrays, found at each corner of the roof.

After placing all the electro charges, locate the door controls in the western part of the roof, near the array on the upper right side.

Kilo will then instruct you on how to open the door. You must follow her instructions quickly, as each command has a 4-second timer. When you're ready, smack or melee the red button. The sequence is as follows:
- ・Pull lever
- ・Flip switch
- ・Pull lever
- ・Shoot panel
- ・Melee button
- ・Shoot panel
- ・Melee button
- ・Pull lever
- ・Melee button
- ・Flip switch
- ・Pull lever
- ・Shoot panel
- ・Flip switch
Pro tip: Have a fast-firing weapon ready for the "shoot panel" commands to ensure you complete them within the time limit.
3. Infiltrate Warehouse
Walkthrough Steps:
After opening the door, you'll be ambushed by Order security guards. Kill them to proceed. These enemies are typically well-armored, so consider using corrosive weapons for maximum effectiveness.
Meet up with your crew afterward in front of the door. Shoot the bomb on the pavement to blow a hole in the roof.
Jump down the hole to enter the security room. You then have two ways to handle the next objective:
- Turn off the three power relays downstairs without touching any red lasers
- Simply touch a laser and deal with Order security forces
Either choice will have the same outcome, but stealth approach might save you some ammunition and health.
Next, head to the safe on the upper level and find and melee the right spot for Kilo to cut. It will be the blue marker on the left side of the safe.

As Kilo cuts through the safe, you'll be attacked by fire suppression forces, followed by Order security forces. Defend your crew and kill the enemies to proceed!
Drones will later join the fight. Destroy them and collect three drone rockets. These drones are agile but have weak points on their undersides.
Once clear, place the drone rockets on the sides of the vault, then tell Glitch to launch the safe into the air. Stand back as the safe gets propelled through the roof!
4. Travel to Safe's New Location
Walkthrough Steps:
Leave The Debilitory and travel northwest to the safe's new location in Smackwater, near the center of Lopside. Kill the Order security forces in the area.

After clearing the area, open the safe and this will complete the mission. Enjoy your hard-earned loot!

Video Guide for The Kairos Job
If you prefer visual guidance, check out this complete walkthrough of The Kairos Job mission:
The Kairos Job Rewards in Borderlands 4
Side Mission Rewards
Base Reward
- EXP (scales with your level)
- Cash
- Eridium
Weapon Reward
- SMG (Green to Purple Rarity)
Cosmetic Reward
- Weapon Skin (Smiley)
Smiley Weapon Skin

Completing The Kairos Job will reward you with the Smiley Weapon Skin, a Weapon Paint Job that you can use in the Customization menu. This vibrant skin features a cheerful smiley face design that contrasts beautifully with the mayhem of Borderlands combat.
Related Borderlands 4 Guides
One Fell Swoop Walkthrough
The main story mission that unlocks The Kairos Job. Learn how to complete this mission efficiently.
Read Guide →Borderlands 4 Character Builds
Optimize your Vault Hunter with these powerful builds designed for endgame content.
Read Guide →Best Weapons in Borderlands 4
Discover the most powerful legendary weapons and where to find them.
Read Guide →Eridium Farming Guide
Maximize your Eridium earnings with these efficient farming methods.
Read Guide →Enjoyed This Borderlands 4 The Kairos Job Walkthrough?
We hope this guide helped you complete The Kairos Job side mission successfully. Check back for more Borderlands 4 guides, tips, and tricks!
Have questions or found something we missed? Join the discussion in our comments section.