
Borderlands 4 Recruitment Drive Walkthrough: How to Get Clearance for Elevator
This comprehensive walkthrough will guide you through the Recruitment Drive mission in Borderlands 4, with detailed instructions on how to obtain the elevator clearance needed to access the broadcast tower.

The Recruitment Drive mission is an early quest in Borderlands 4 that introduces players to the game's mechanics while presenting a challenging puzzle involving elevator access. Many players get stuck trying to figure out how to get the proper clearance, which is essential for mission progression.
In this guide, we'll break down each objective with step-by-step instructions, combat strategies, and location details to help you successfully complete this mission and claim your rewards.
Borderlands 4 Recruitment Drive: Taking Claptrap's Tour
The mission begins with Claptrap offering you a tour of the area. This serves as the game's tutorial section, introducing basic movement and combat mechanics.
Step-by-Step Guide:
-
Talk with Claptrap and Retrieve Batteries
Go up the steps and approach the grill beside Claptrap. After his dialogue is exhausted, open it to retrieve batteries.
-
Follow Claptrap until you see an enclosure with new ripper enemies. These enemies may be tougher to kill than previous ones, so use cover effectively.
-
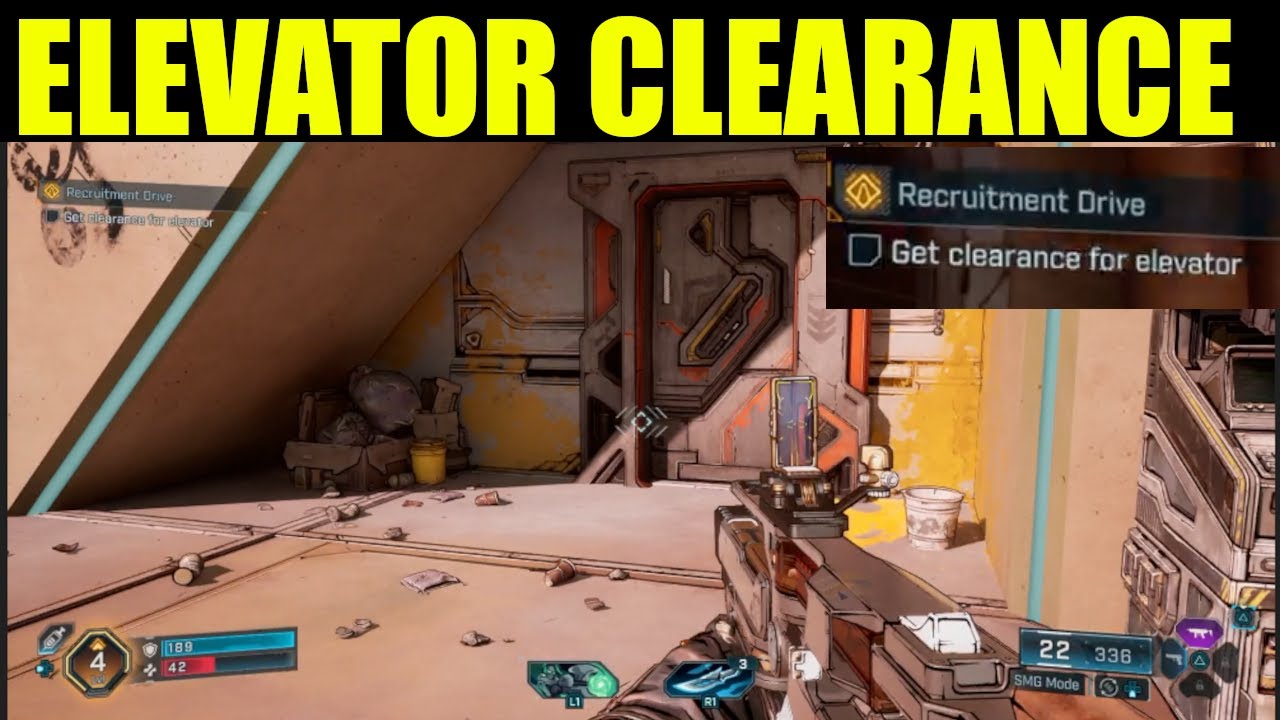
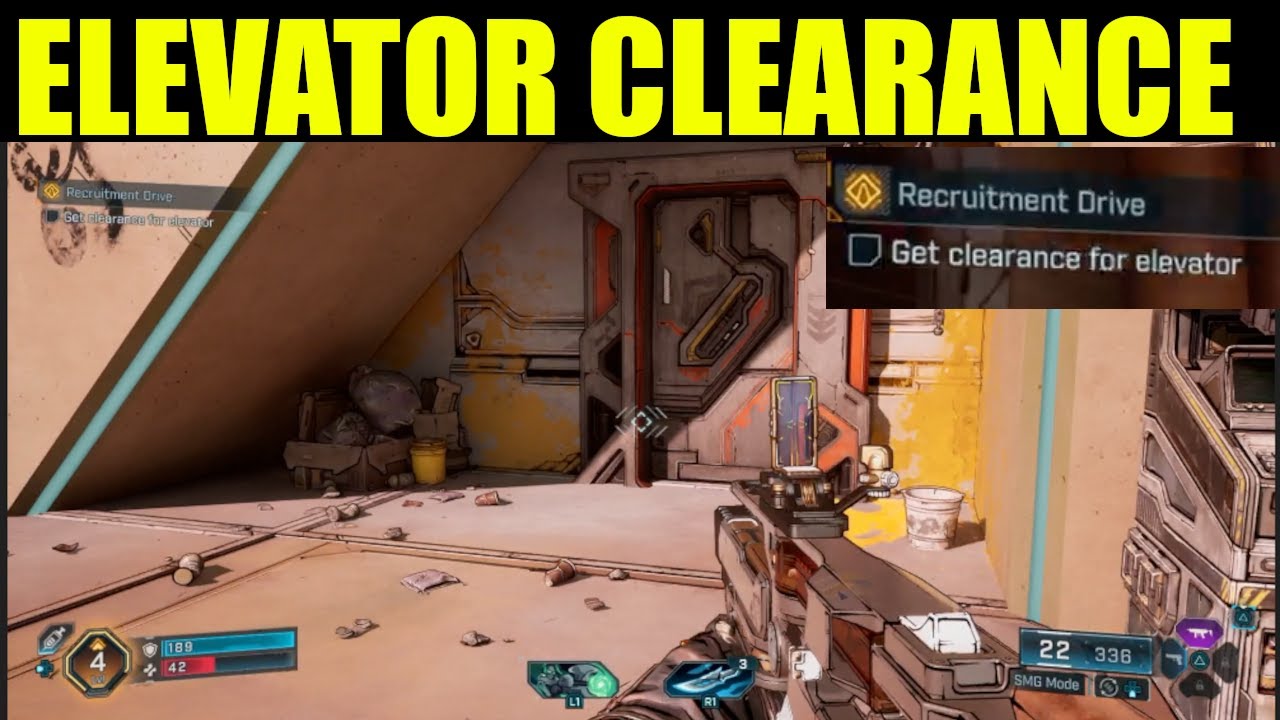
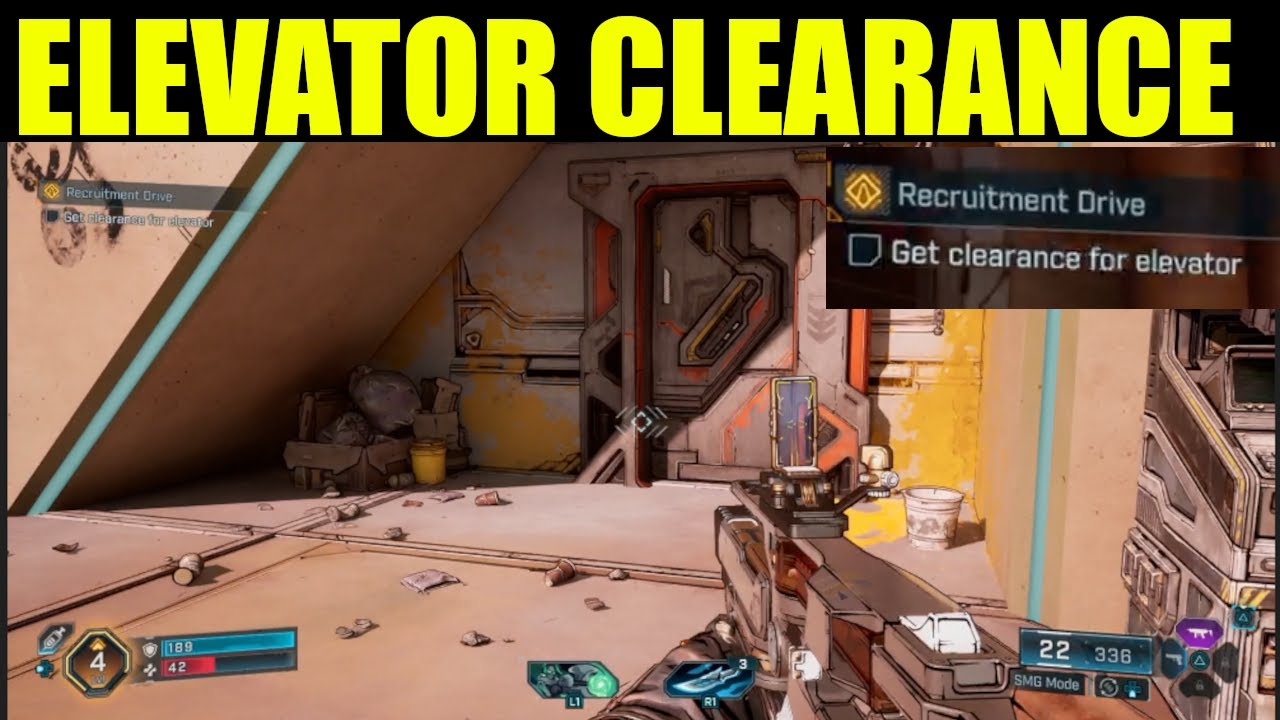
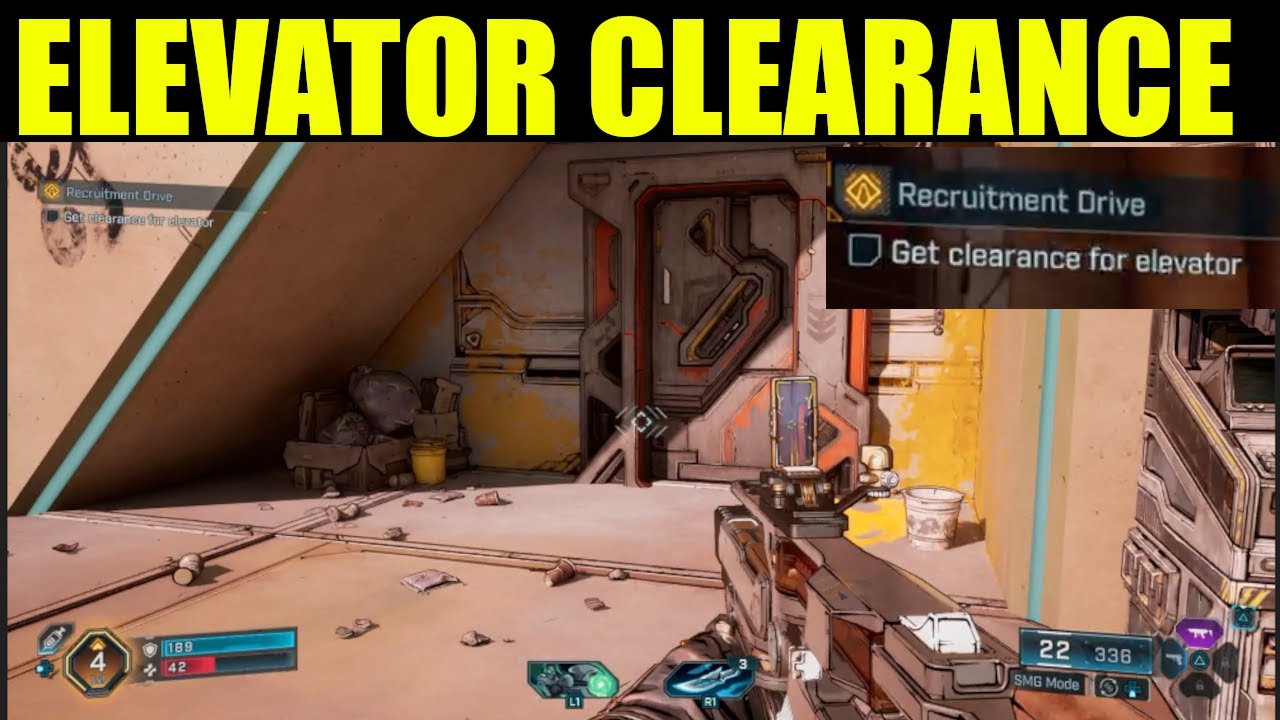
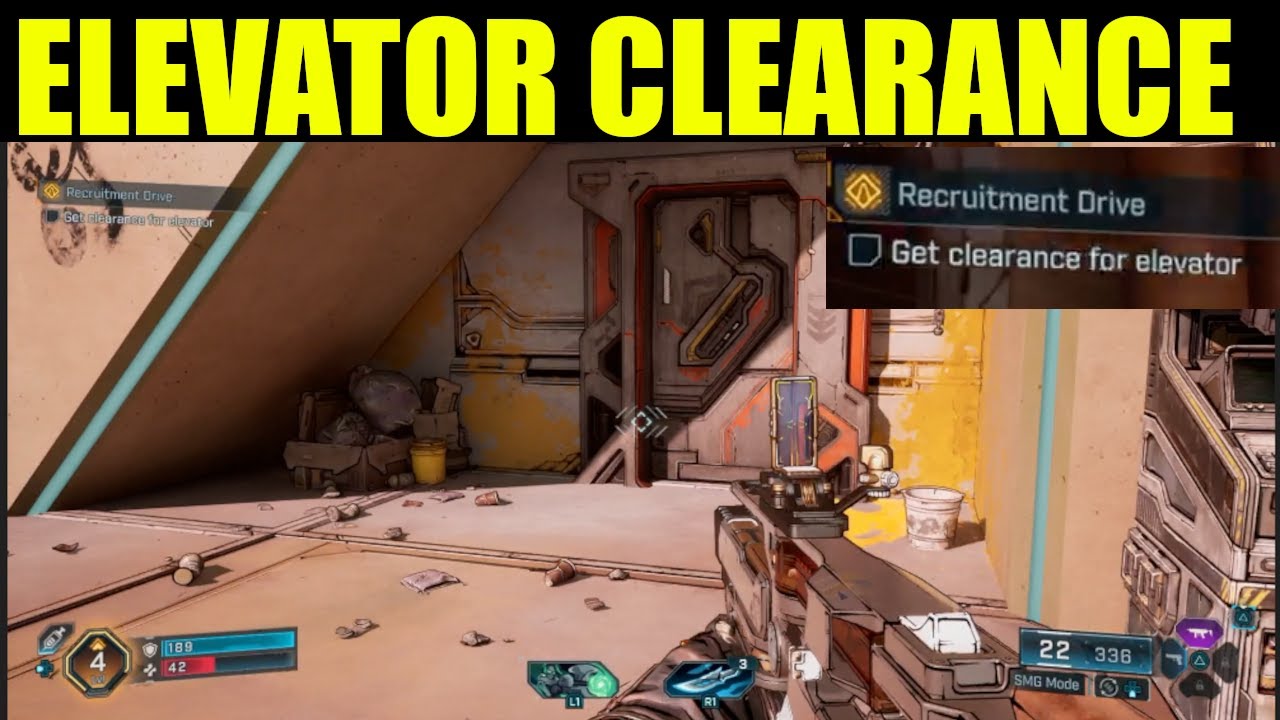
After eliminating all enemies, proceed with Claptrap to the elevator of a broadcast tower where you will reunite with Arjay's ECHO-4 robot. The elevator cannot be called from the bottom, initiating the clearance quest.
-
Using ECHO-4's ECHO Location, trace your path to the next objective with a yellow line. Follow the trail until you see a climbable wall on a cliffside.
-
Inside a cave, Mangrel enemies guard the way to another Ripper camp. Clear them out before proceeding.
Finding Splashzone in Borderlands 4 Recruitment Drive
This section of the mission takes you to Riptide Grotto, where you'll face numerous enemies and a challenging miniboss fight.
Step-by-Step Guide:
-
To Riptide Grotto
Kill all rippers in the camp before advancing further to find a passageway leading to Riptide Grotto.
-
Be cautious in Riptide Grotto as the battle becomes very hectic with several enemies. Take cover to avoid losing health and having to respawn. Remember to loot for better weapons to clear the area more efficiently.
-
Near Splashzone Boss Arena
Upon entering Riptide Grotto, run left and follow the raised terrain to eventually reach a climbable wall. Eliminate the rippers once you climb up.
-
Splashzone Boss Arena
If you turn to the right facing a gap, there is a ledge leading to a jutting platform you have to jump onto. Upon entering, you will fight the miniboss Splashzone.
-
Kill Splashzone. As he moves quickly and hits hard, use the environment to your advantage while also being careful of rippers outnumbering you.
-
After killing Splashzone, get his key and use it to open the nearby chest to receive the Glide Pack. Use the Glide Pack on the edge of his boss platform to reach the other side. From there, run up the grassy dirt path until you reach the starting area again.
Returning to the Broadcast Tower in Borderlands 4
With Splashzone defeated and the Glide Pack acquired, you can now return to the broadcast tower with new traversal options.
Step-by-Step Guide:
-
To Top of Broadcast Tower
With Splashzone's key, return to the area with the broadcast tower. Find a climbable wall to reach the side of the tower.
-
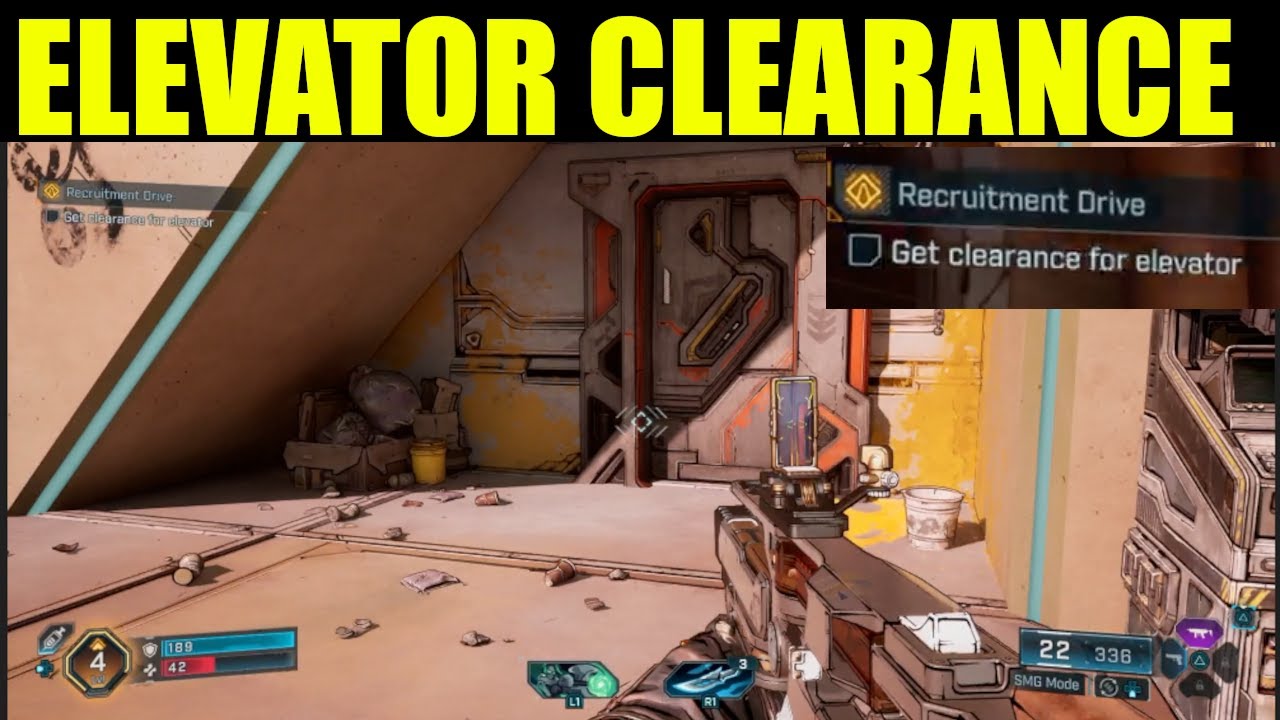
Head to the top of the tower by using the grappling hook. There, you will realize that the elevator is still inaccessible, requiring further clearance.
How to Get Elevator Clearance in Borderlands 4 Recruitment Drive
This is the crucial part where many players get stuck. Follow these steps carefully to obtain the elevator clearance.
Step-by-Step Guide:
-
Corpse with Elevator Clearance
Turn back from the elevator to see a corpse slumped by a crate. Looking at the back of its head, there should be a green chip. A prompt should then allow you to get the clearance from it. Go back to the elevator to finally activate it.
-
After Claptrap reaches the top, he will ask you to break a door. After breaking the door, enter Claptrap's Safehouse.
-
To successfully capture the Safehouse, find the command console's datapad and use it to access the console. This unlocks the Vending Machine, which allows you to buy and sell resources. Moreover, this unlocks the Safehouse as a point for fast travel.
-
After capturing the Safehouse, start a broadcast with Claptrap by accessing the console near him.
Pro Tip:
Before leaving the safehouse, make sure to check the vending machines for upgrades and stock up on ammunition. The next mission will likely involve significant combat.
Borderlands 4 Recruitment Drive Mission Rewards
Completing the Recruitment Drive mission provides several valuable rewards that will help you in your journey through Borderlands 4.
Main Mission Rewards
- Cash: Approximately $2,500 (scales with level)
- XP: Significant experience points to help you level up
Equipment Reward
- Shield (Purple Rarity): A high-quality shield with excellent protective capabilities
- Glide Pack: Permanent traversal tool for accessing new areas
Final Thoughts on Borderlands 4 Recruitment Drive Mission
The Recruitment Drive mission serves as an excellent introduction to Borderlands 4's gameplay systems, combining combat, exploration, and puzzle-solving elements. The elevator clearance step can be tricky, but with this guide, you should now have no trouble progressing.
Remember to thoroughly explore each area, as Borderlands games are known for hiding valuable loot in unexpected places. The Riptide Grotto area in particular has several hidden chests that can contain valuable weapons and gear.