
Borderlands 4: One Slimy Issue Walkthrough
Complete guide to finishing the slimy side mission in Borderlands 4 with detailed objectives, strategies, and rewards.
This complete walkthrough will guide you through the "One Slimy Issue" side mission in Borderlands 4. Follow our step-by-step objectives to clear the mission efficiently and claim your rewards.
Mission Details
- Location: Fades District, Dominion
- Starting NPC: Beth
- Prerequisite: Complete "One Gassy Issue"
- Enemy Types: Creeps, Threshers, Rippers
How to Unlock One Slimy Issue in Borderlands 4
To unlock the "One Slimy Issue" side mission, you must first complete the previous mission "One Gassy Issue" in the same area.
After completing the prerequisite mission, head back to Lakeside Properties in the Fades District of the Dominion region. You'll find Beth waiting by the same house where you completed the previous mission.
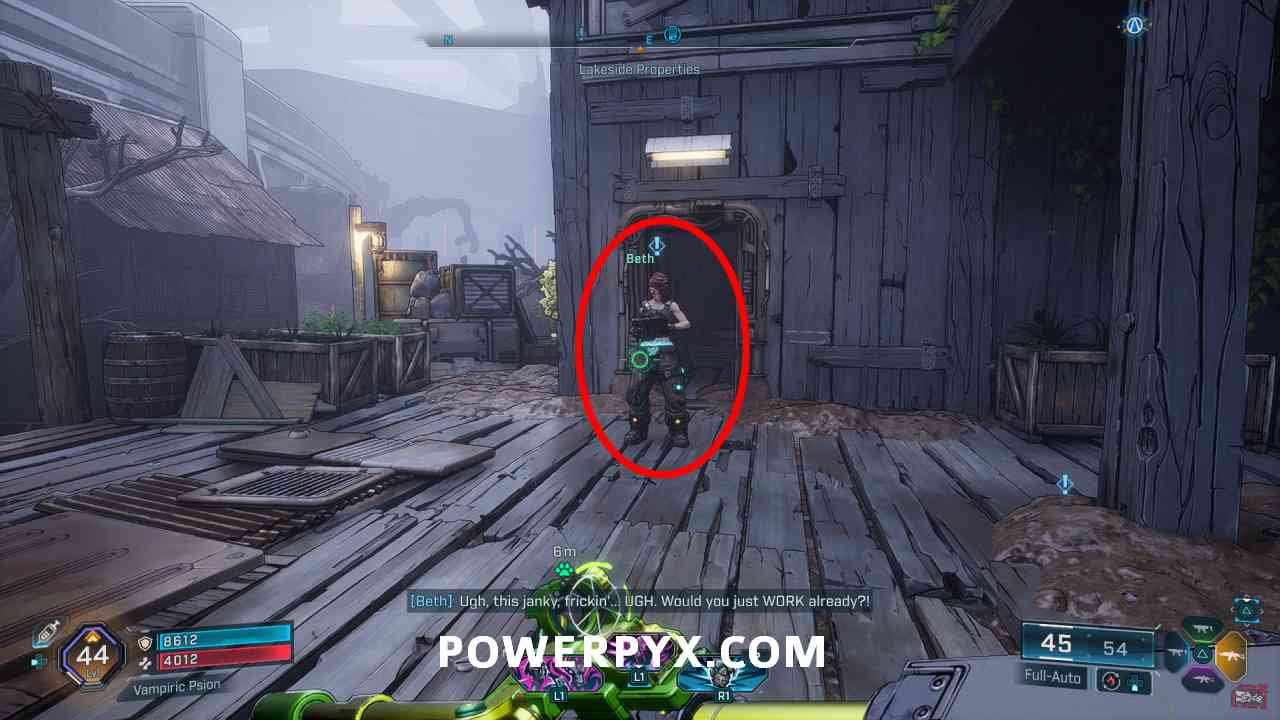
Beth's location at Lakeside Properties in Fades District
Note: If Beth isn't appearing at the location, ensure you've completed "One Gassy Issue" and try fast traveling away and back again to reset the area.
One Slimy Issue Complete Walkthrough Guide
Restore the Surveillance Systems
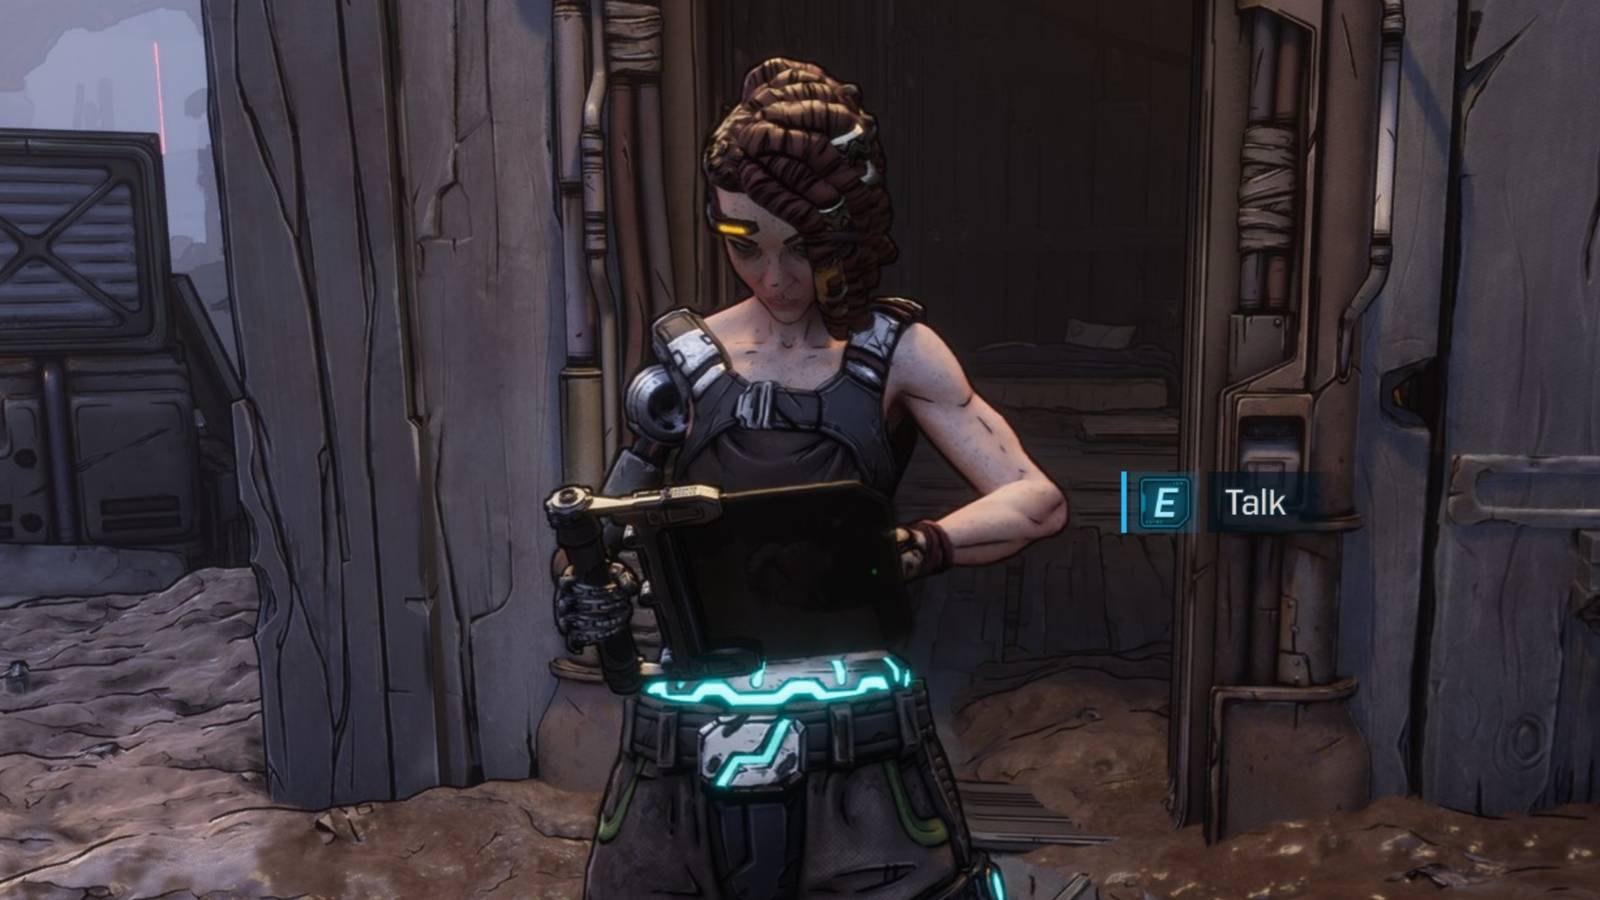
Talk to Beth at Lakeside Properties. She'll explain that her basement has been infested with creeps and the surveillance systems are down.
Head to Beth's basement down the steps of the pier. You'll find the door is armored and inaccessible through normal means.
Armored basement door

Locust canister dispenser in mud
Look around the heaps of mud near the basement entrance to find a half-submerged Locust gas dispenser. Grab a canister and throw it at the door to melt through the armor and gain entry.
Once inside, you'll need to clear out the creeps that have infested the basement. These are fast-moving enemies that attack in groups, so area-of-effect weapons work well here.
After eliminating the threats, you'll need to reboot the surveillance system by flipping two switches located in different parts of the basement.
The first switch is accessible by a ladder but is covered in corrosive slime. Grab a Locust canister from a side room and throw it at the console to clear away the growth.

First console accessible by ladder

Second console across from dispenser
The second console is in a small room across from where the dispenser is located. Use another canister to clear this console as well.
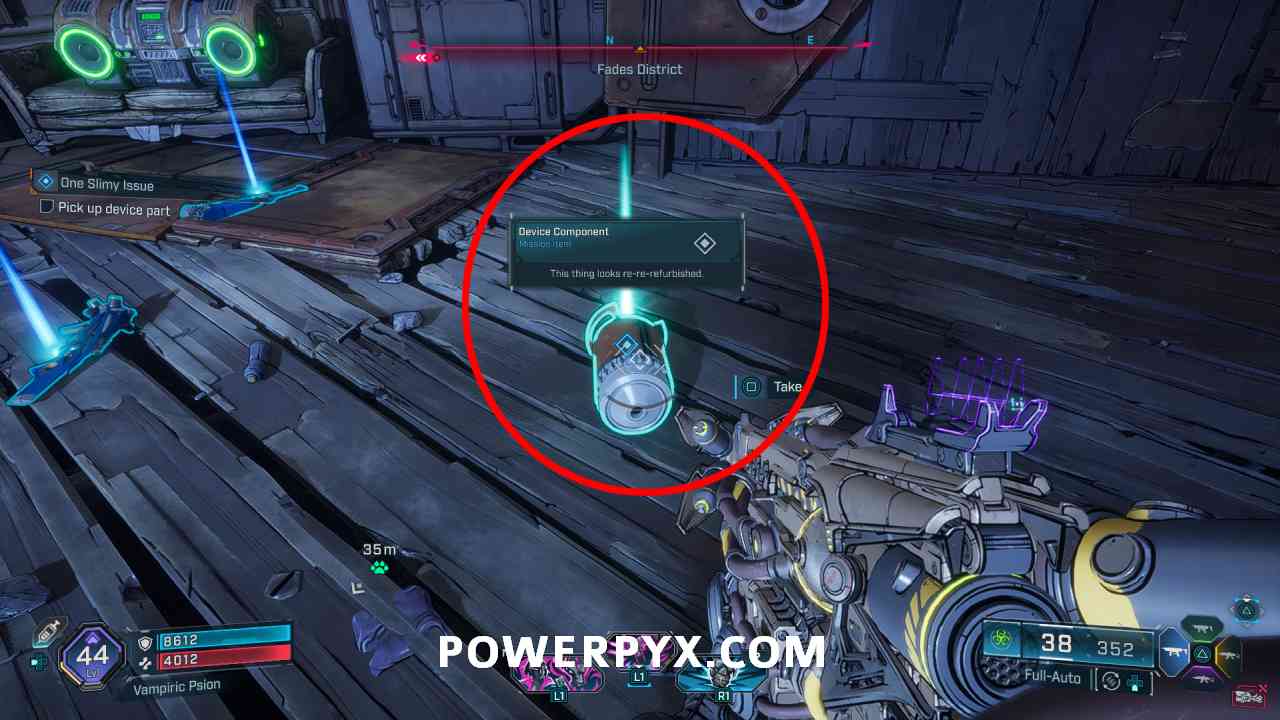
Head to the marked location to investigate the monitoring device. You'll discover that a crucial part is missing from the device.

Monitoring device with missing component
Follow the objective on your map to locate the signal of the missing device part, which leads to a nearby ripper camp.
Eliminate the rippers and their leader, the Scrapvenger, who has stolen the device part. The Scrapvenger is a larger, more powerful ripper with increased health and damage.

Retrieve the missing part from Scrapvenger
After defeating the Scrapvenger, retrieve the missing device part from its remains.
Return to the monitoring device and repair it with the retrieved part. Immediately after doing so, a group of threshers will emerge from the ground around the device.
Threshers ambush after device repair
Defeat all the threshers to proceed. These enemies can burrow and reappear elsewhere, so stay mobile during this fight.
Acquire the spare part from the crane near the monitoring device. You'll need to use your grappling hook to reach the crate containing the part.
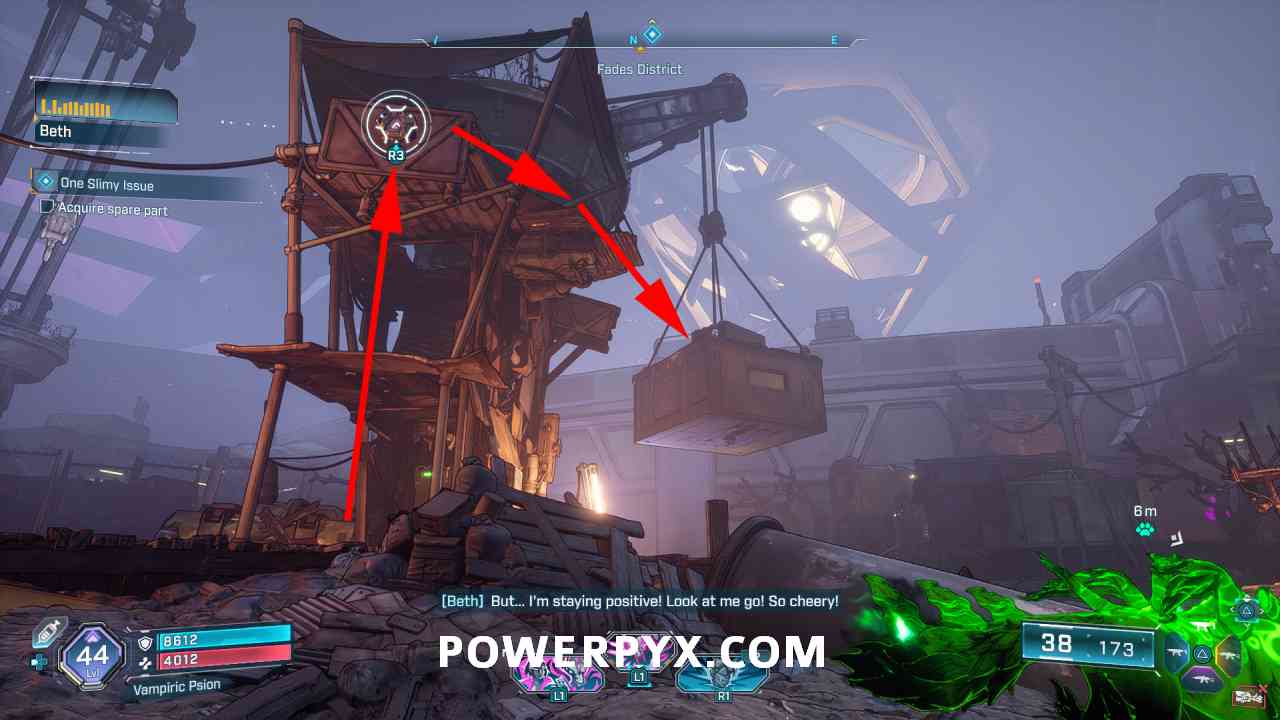
Use grappling hook to reach the crate
Climb up using your grappling hook and retrieve the spare part from the crate.
Follow the objective to the second monitoring device just ahead. You'll find it covered in biological growth that needs to be cleared.

Shoot the growth around the device
Destroy the growth around the device by shooting it until it clears. Then, insert the spare part to complete the repairs.
Kill the Bio-Thresher Omega
Follow the next objective marker to an open muddy area where you'll encounter the Bio-Thresher Omega, a massive mutated thresher that serves as the mission's boss.
The Bio-Thresher Omega has armored skin that makes it highly resistant to damage. Use Locust canisters from nearby dispensers to dissolve its armor before attacking.

Bio-Thresher Omega boss enemy
Strategy: The boss has several attacks including projectile spikes, ground slams, and a charge attack. Stay mobile and use cover when available. When its armor is dissolved, focus fire on its weak spots for maximum damage.
Repeat the process of using Locust canisters to remove its armor and then attacking until the Bio-Thresher Omega is defeated.
After defeating the Bio-Thresher Omega, a vomit pile will remain. Shoot or strike this pile to reveal Beth's pet creep, Colonel Oatmeal, who emerges non-hostile.

Colonel Oatmeal emerges from vomit pile
Colonel Oatmeal will follow you once freed from the pile.
Return to Beth with Colonel Oatmeal to complete the mission. Beth will be grateful for the return of her pet and reward you for your efforts.
One Slimy Issue Mission Rewards
Base Rewards
- Cash reward based on character level
- Substantial XP based on character level
Equipment Reward
Random Shotgun
Green to Purple rarity (varies by playthrough and luck)
Potential Shotgun Variations
- ● Jakobs Coach Gun (High damage, 2-shot)
- ● Hyperion Contained Blast (Accurate when fired continuously)
- ● Torgue Ravager (Explosive rounds, high splash damage)
- ● Vladof Crit (High fire rate, underbarrel attachment)
Related Borderlands 4 Guides
One Gassy Issue Walkthrough
Previous mission in the series that unlocks One Slimy Issue
Fades District Collectibles Guide
Find all Echo logs, chests, and hidden items in Fades District
Best Shotguns in Borderlands 4
Top-tier shotgun weapons and where to find them
Creep Enemy Types and Weaknesses
How to deal with different creep variants effectively
Table of Contents
Video Walkthrough
Watch the complete One Slimy Issue mission from start to finish
Quick Tips
- Corrosive weapons work well against most enemies in this mission
- Stock up on Locust canisters before engaging the Bio-Thresher Omega
- Check all containers in the basement for potential loot
- Complete at level for the best challenge and reward scaling