
Borderlands 4 Fault Hunting Walkthrough
Complete guide to the Fault Hunting side mission in Borderlands 4. Follow our detailed walkthrough to complete all objectives and claim your rewards.
Table of Contents
How to Unlock Fault Hunting Mission in Borderlands 4
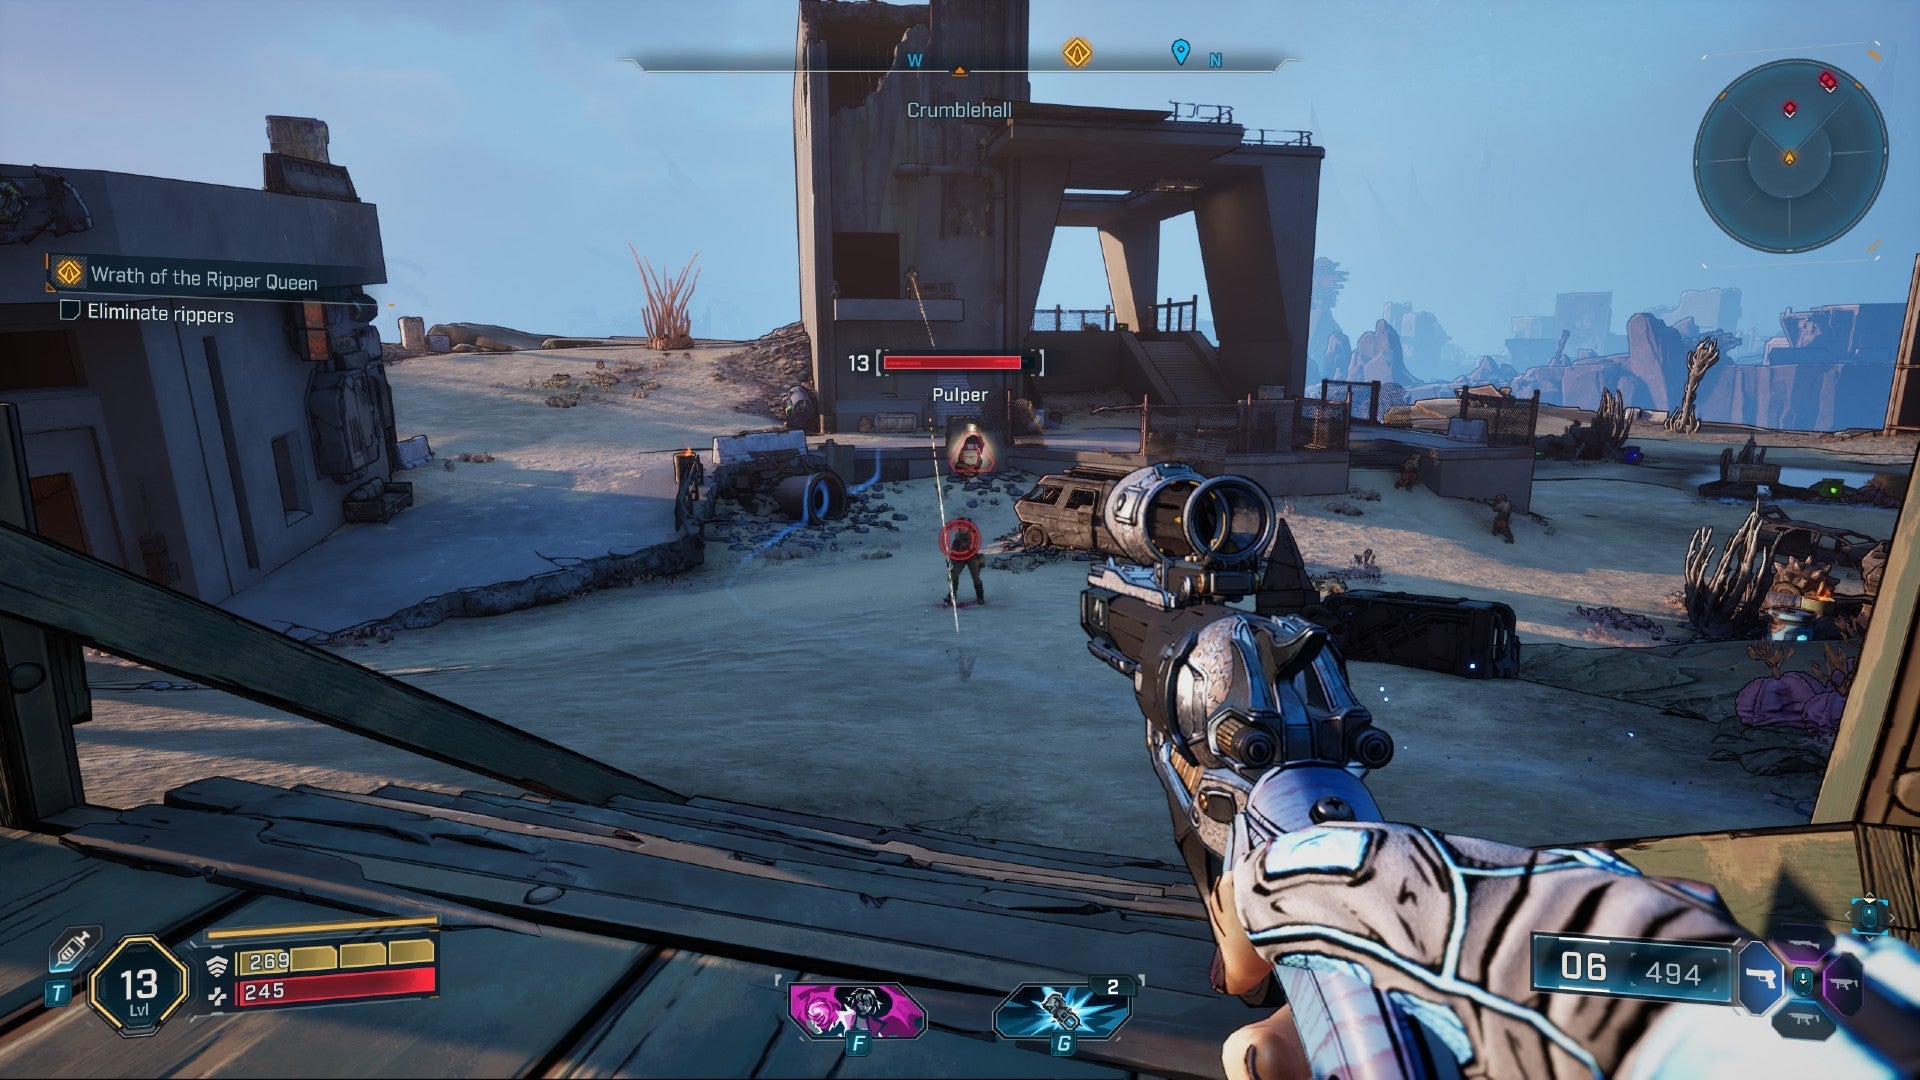
There are two ways to start the Fault Hunting side mission, though both ways are still fixed to the Ruined Sumplands area and follow the same progression. Both ways require you to have initiated the Wrath of the Ripper Queen main questline.
Talk to Leopold at the Society for Amateur Seismology Enthusiasts
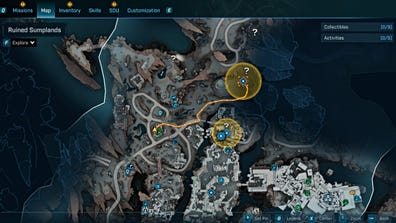
You may start Fault Hunting by directly talking to Leopold at the Society for Amateur Seismology Enthusiasts on the western side of the Ruined Sumplands.
Accept Mission at Carcadia
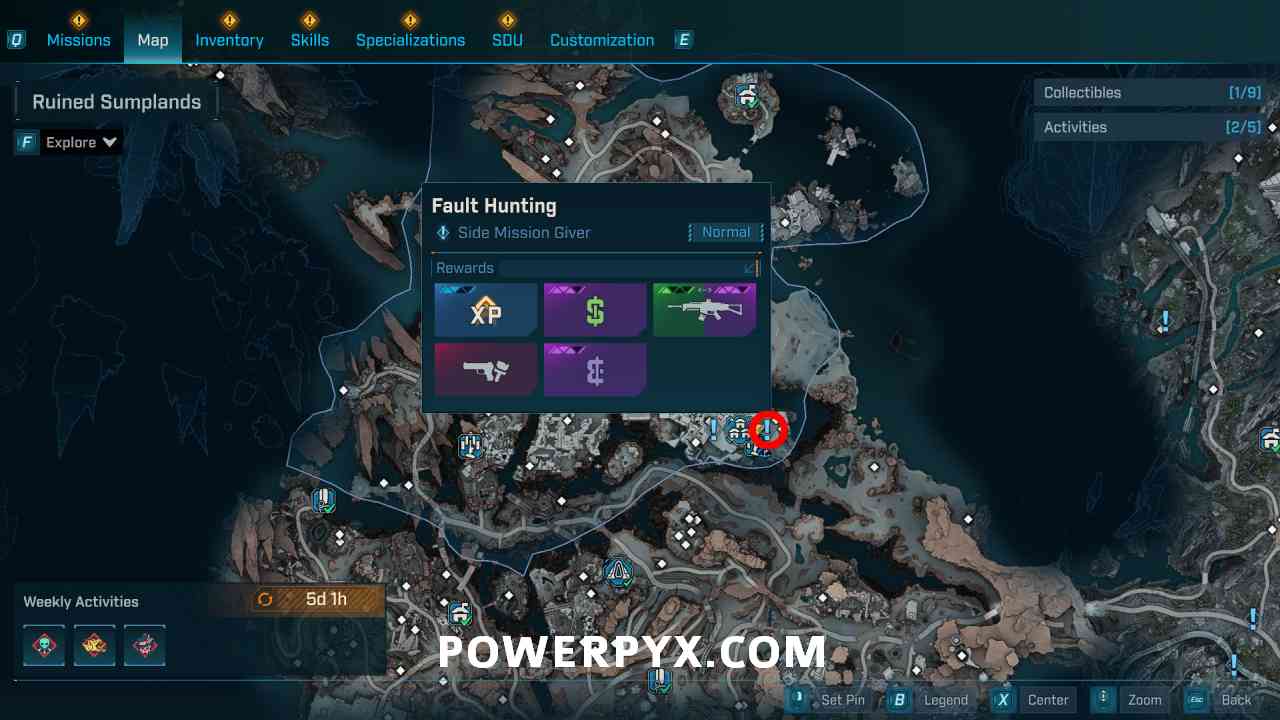
The second way of starting Fault Hunting is after restoring Carcadia in the first part of the Unpaid Tab main mission. Talk to Leopold at an intercom to accept the mission. You will have to talk directly to Leopold anyway at the Society for Amateur Seismology Enthusiasts.
Borderlands 4 Fault Hunting Mission Walkthrough Guide
Find the Source of the Tremor
Talk to Leopold at the Society for Amateur Seismology Enthusiasts.
Travel northeast to reach the tremor site. Inside the cave, glide toward the geyser to get a boost and land on the other side.
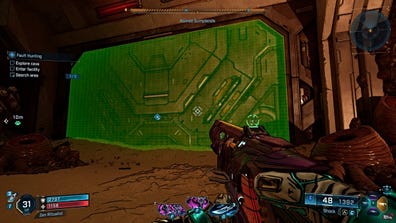
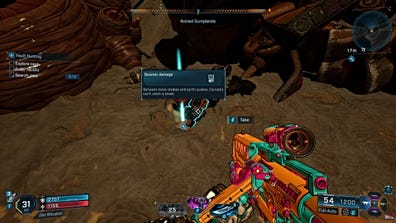
Keep going until you reach a locked door. Kill the creeps. Optionally, you may search the area by picking up the blue item near the door and examining the door itself.

With the door still locked, look around for a geyser and jump toward it to land on an upper portion of the cave. Crouch past a tight passage and drop down into the next area.

Explore the Facility
Ahead, you will be blocked by a door that keeps opening and closing. Through the gap in the door, shoot the green fuse. Move along and fight creeps before dropping down another hole.
At the server room, find the server console. You may optionally search the room by examining the mummified creeps on the floor.

Find the power source slightly to the right of the console.
Direct power to the server console by using the grappling hook to turn the wires on the ceiling. Then, hack the server console.

While ECHO-4 is hacking the console, defend it by killing the creeps advancing toward it.
Confront Genone
Leave the server room by going through the door to the right of the power source. Following the path will lead you back to the entrance of the cave.
Go to Lopside, south of Carcadia Burn. You may immediately go there if the Makeshift Chalet Safehouse has already been captured.

Arriving at The Yawning Yard, go to the edge of a cliff and glide down to find a door, which will open for you.

Kill creeps on the way to Genone. Eventually, you will find yourself in a room with synth prototypes. After killing them all, activate the console by a door.
Like in the server room, direct power to the door to unlock it.


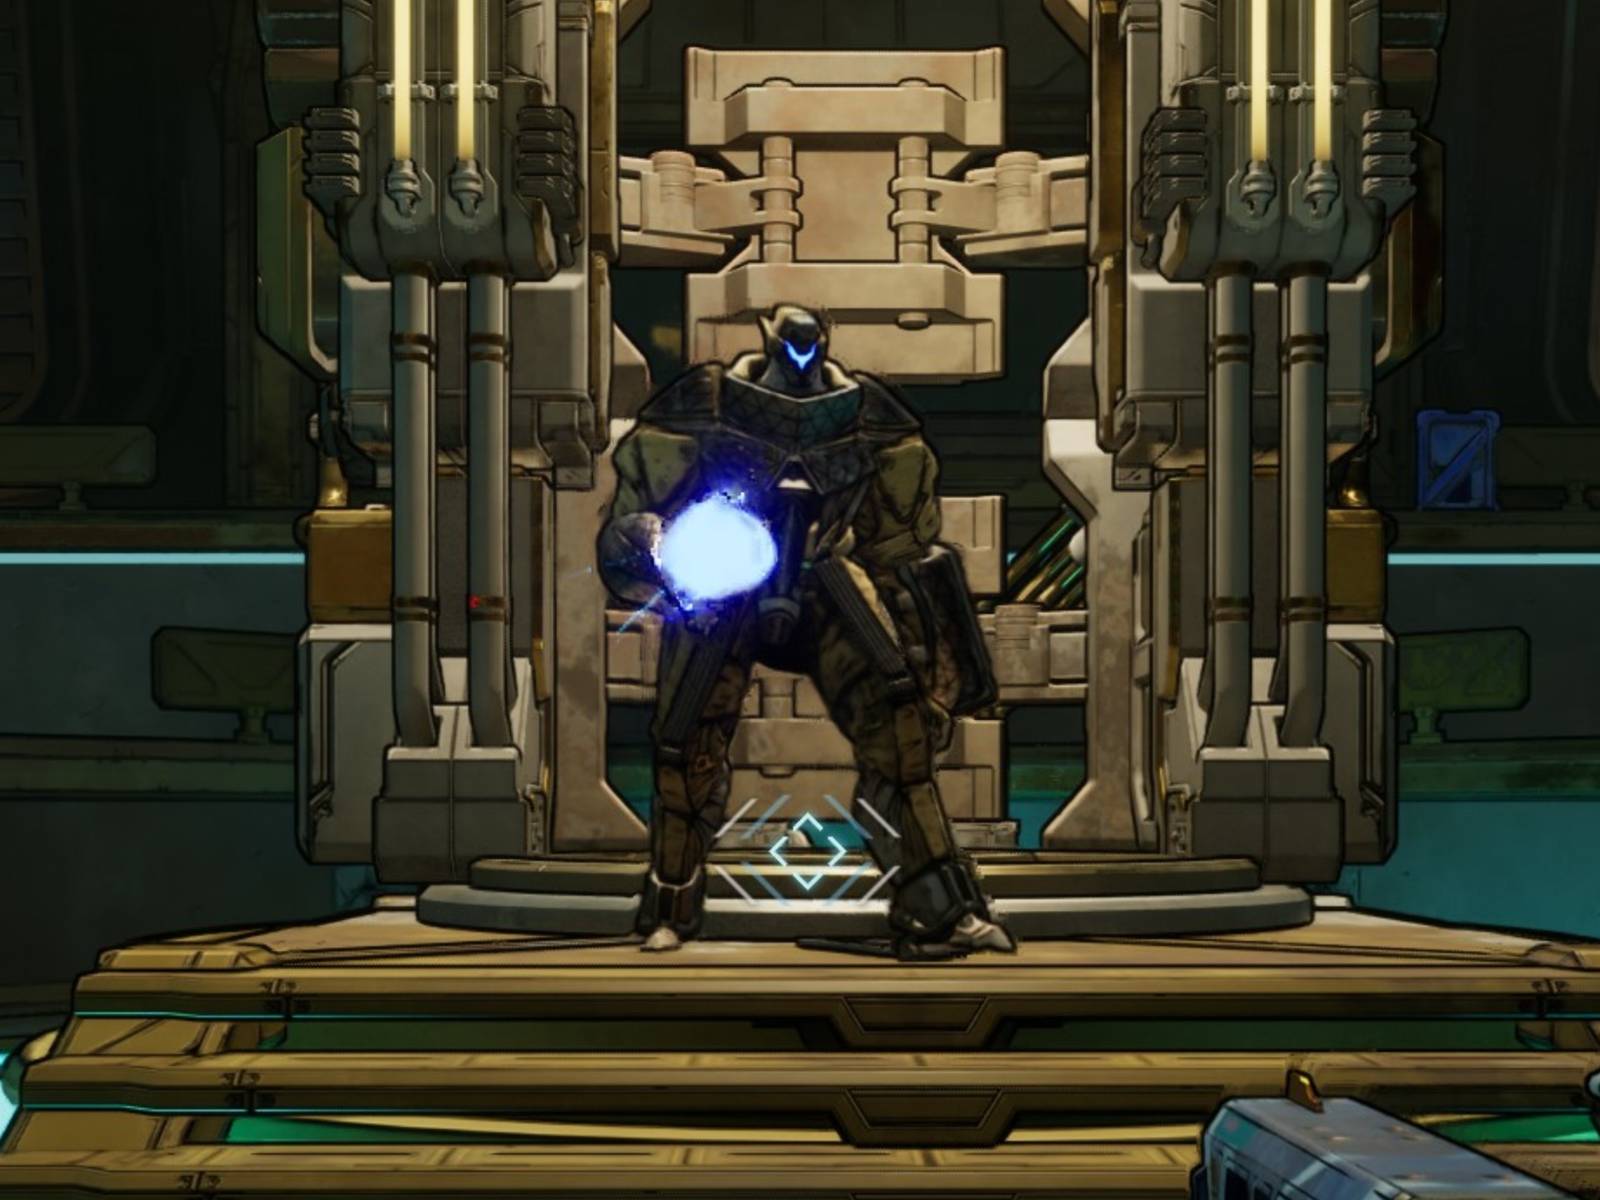
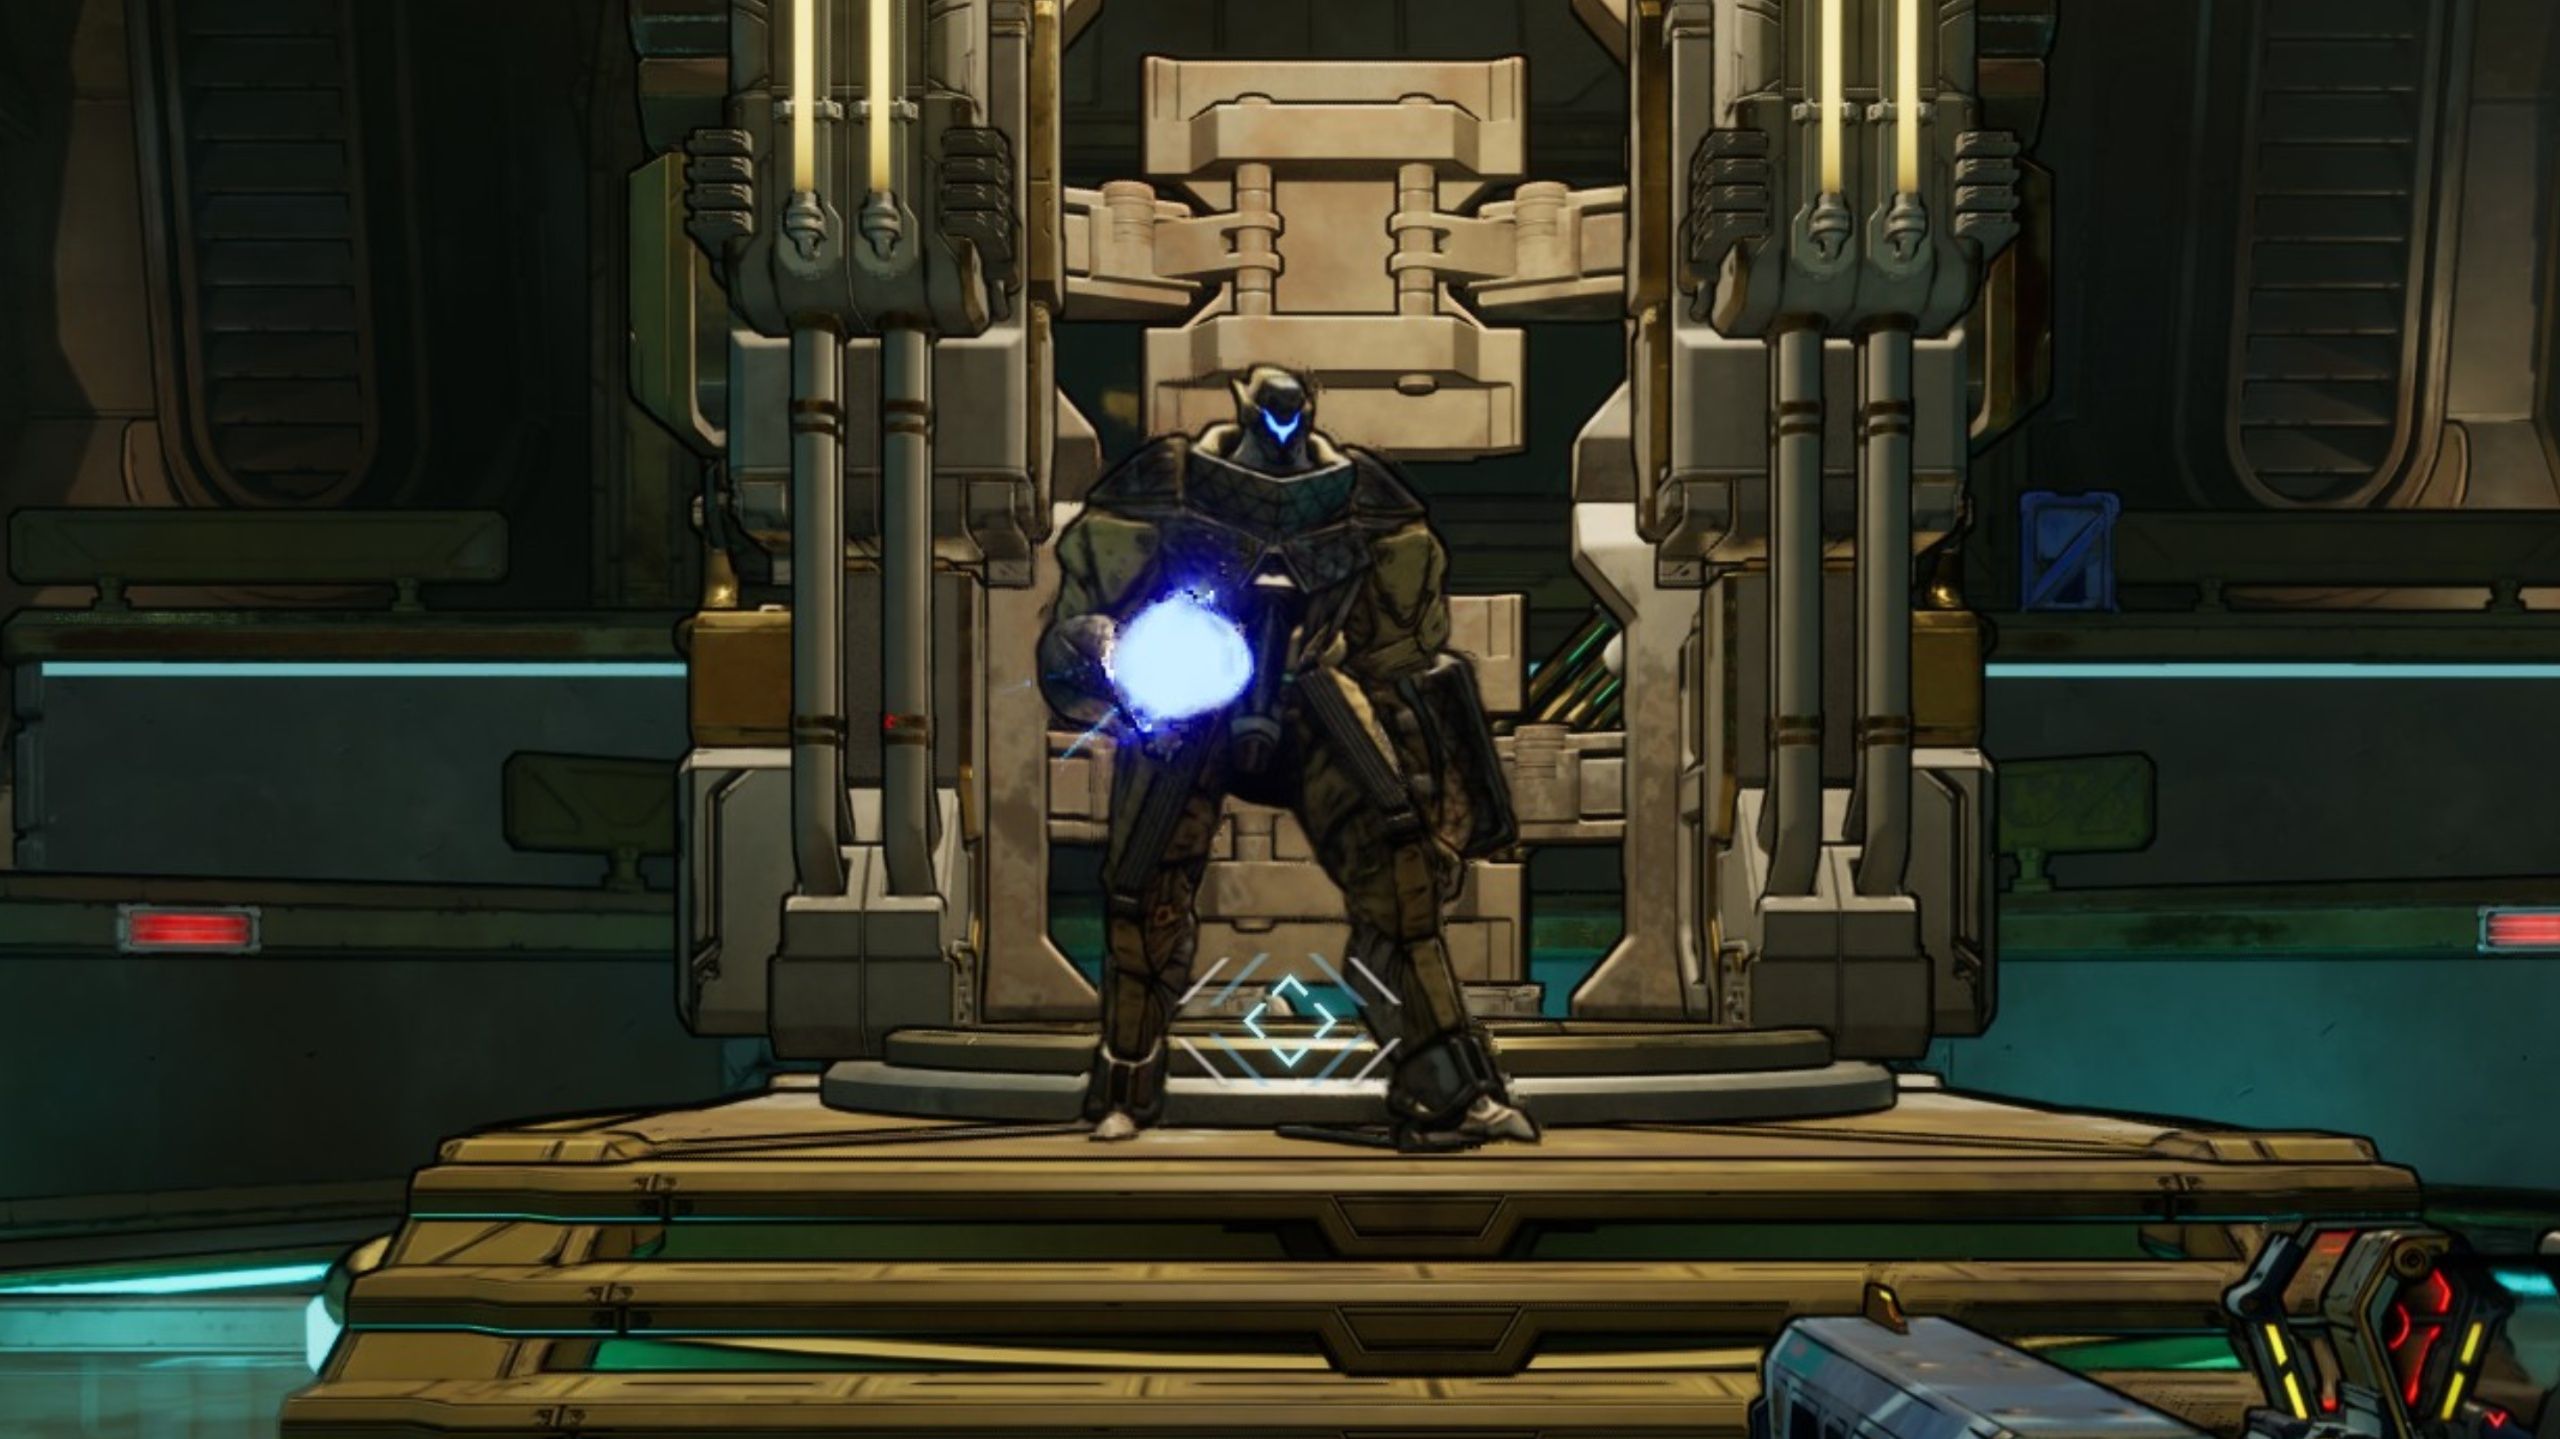
After passing through a series of rooms, confront the boss Genone.
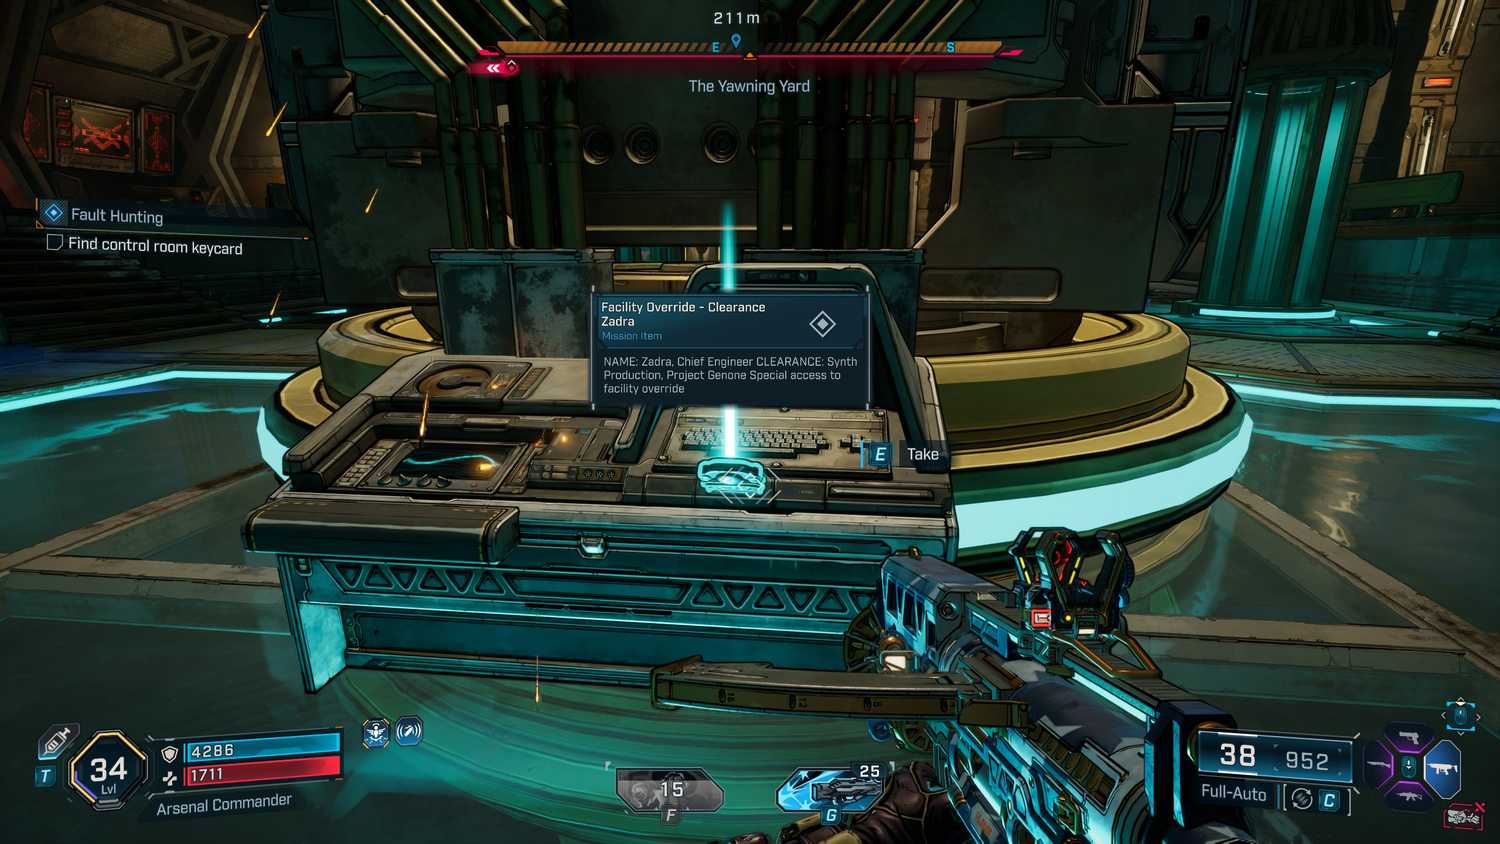
Find the control room keycard on a terminal at the center of the arena. Use the keycard to gain access to the control room. Inside, turn the switch to delete Zadra's research and end the mission.
Borderlands 4 Fault Hunting Mission Rewards
Side Mission Rewards
Base Reward
- Cash
- XP
- Eridium
Equipment Reward
- Assault Rifle (Green to Purple Rarity)
Cosmetic Reward
- Weapon Skin (Eternal Defender)
Reward Showcase
Eternal Defender Weapon Skin
Assault Rifle (Random Rarity)
Related Borderlands 4 Guides
Wrath of the Ripper Queen Main Quest
Complete walkthrough for the main story mission required to unlock Fault Hunting.
Read Guide →Unpaid Tab Mission Guide

How to complete the Unpaid Tab mission and restore Carcadia to unlock the second method of starting Fault Hunting.
Read Guide →Ruined Sumplands Region Guide

Complete exploration guide for the Ruined Sumplands area, including collectibles, secrets, and enemy encounters.
Read Guide →Best Assault Rifles in Borderlands 4

Tier list and locations for the most powerful assault rifles in the game, including the one you can get from Fault Hunting.
Read Guide →Enjoyed This Borderlands 4 Fault Hunting Walkthrough?
Check back soon for more Borderlands 4 guides, tips, and strategies!