
Crystal Brawl is the 12th main mission in Borderlands 4 (BL4). This comprehensive walkthrough will guide you through all objectives of the Crystal Brawl Main Quest, including optional objectives and strategies for success.
Borderlands 4 Crystal Brawl Mission Overview
After finishing Main Quest 11: Shadow of the Mountain, you'll receive the Crystal Brawl mission from Defiant Calder. The voice that spoke through the Auger relic said to "find the Siren"… and, as it happens, there's another one here on Kairos. Watch out, though: apparently this Siren has claws.
Mission Rewards
- Experience Points (XP)
- Money
- Eridium
- Epic Shield
- Augered Reality Vault Hunter Style
Starting Crystal Brawl in Borderlands 4
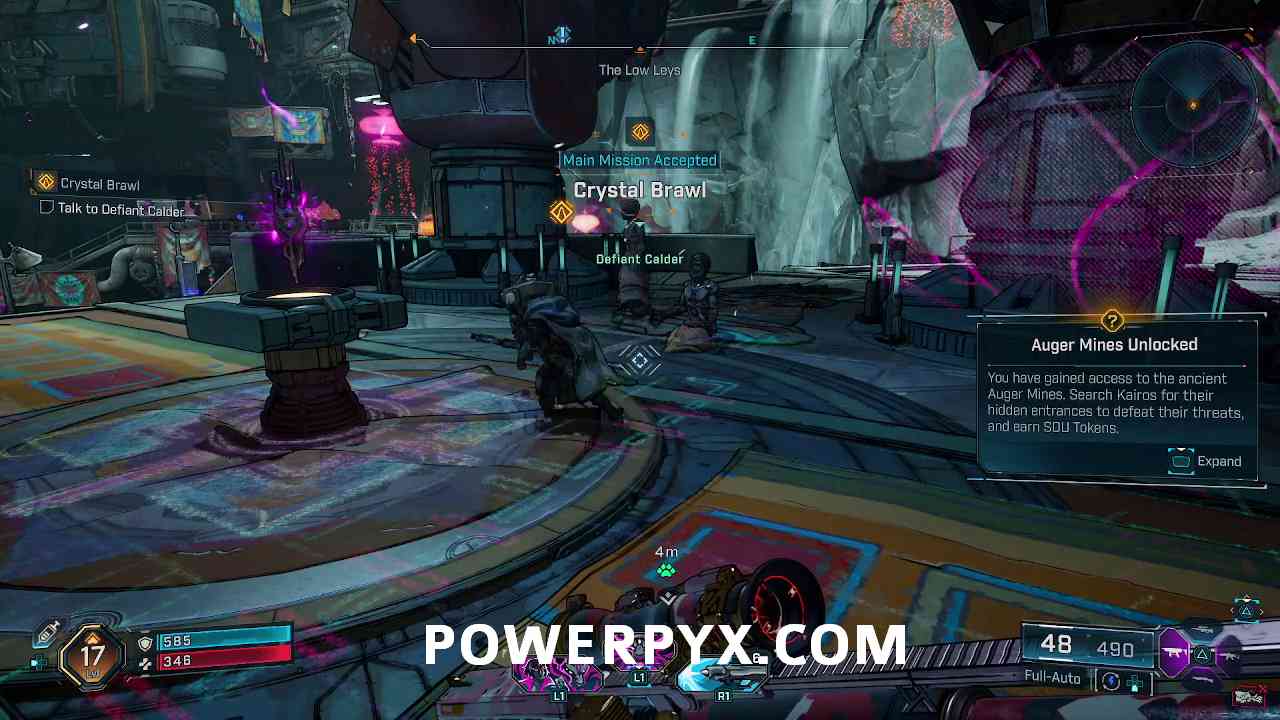
The Crystal Brawl mission begins at Kairos > Terminus Range > The Low Leys. You'll need to have finished Main Quest 11: Shadow of the Mountain to unlock this mission.
Crystal Brawl Walkthrough Steps
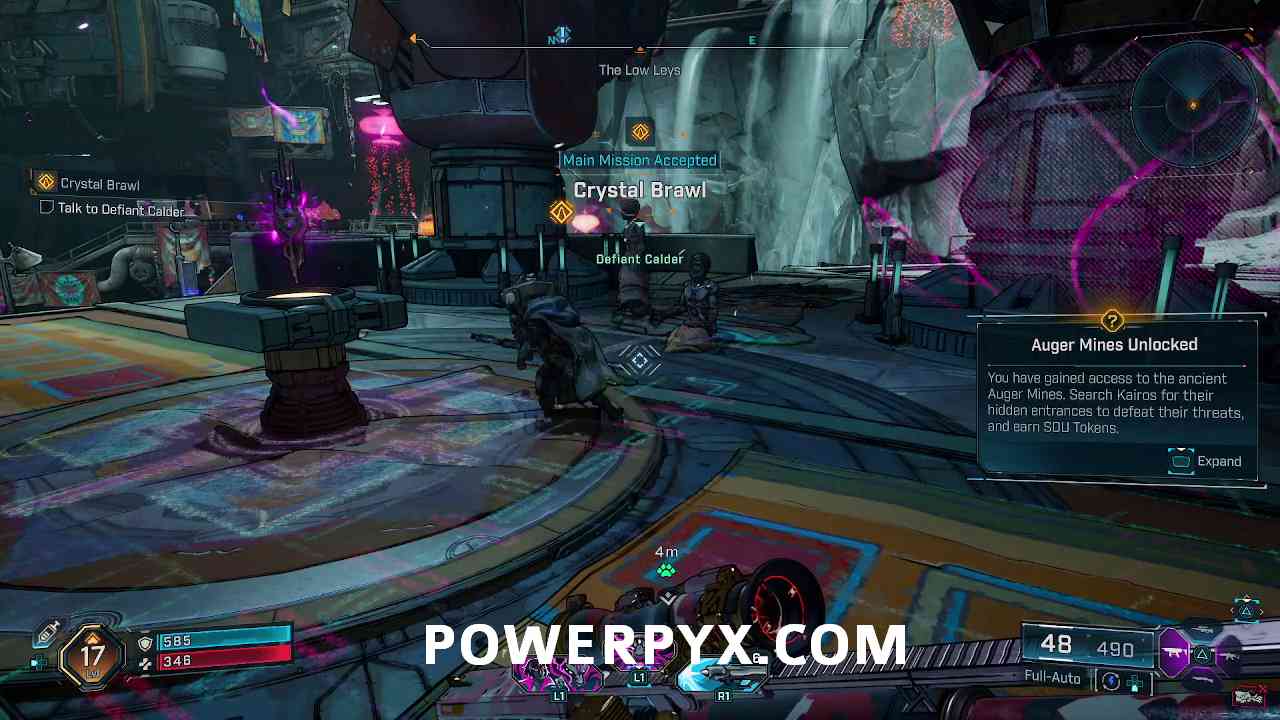
1. Talk to Defiant Calder
Your first objective is simple: just talk to Calder who is located near your starting position.
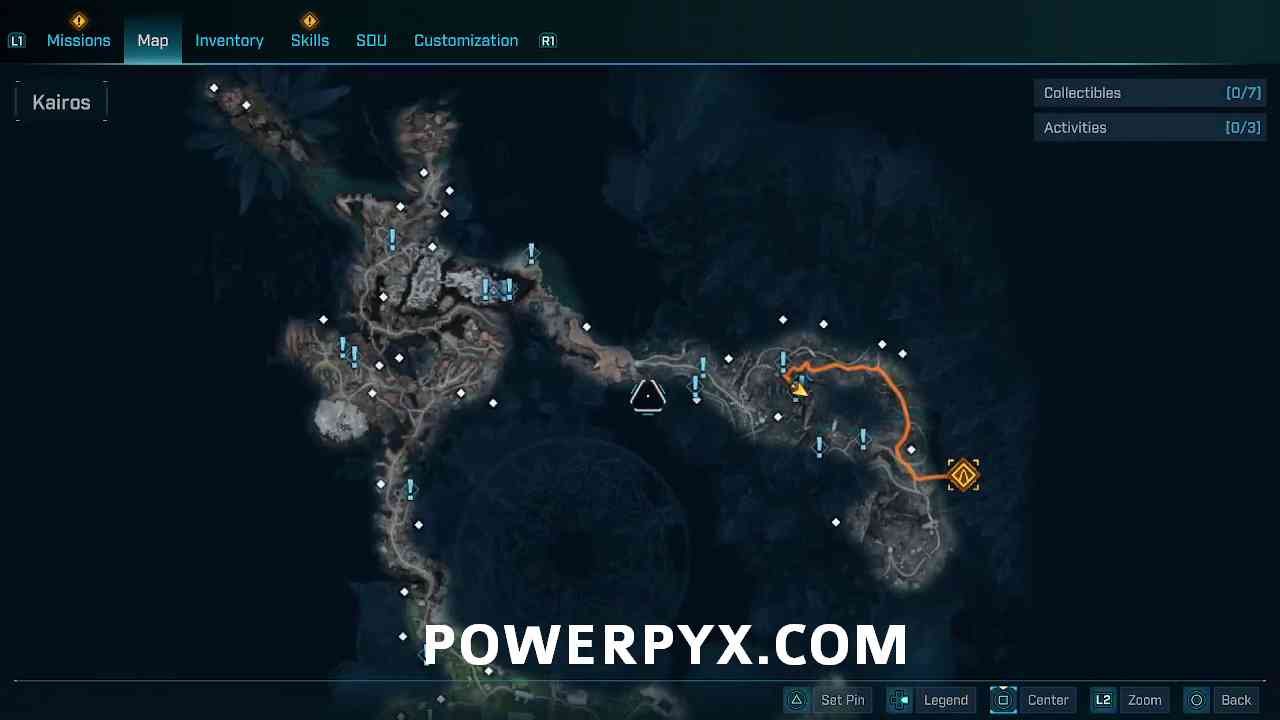
2. Find Wildcat
To find Wildcat, you need to follow a long path through a mountain area. At the end of this path, you'll find Wildcat, which triggers a cutscene.
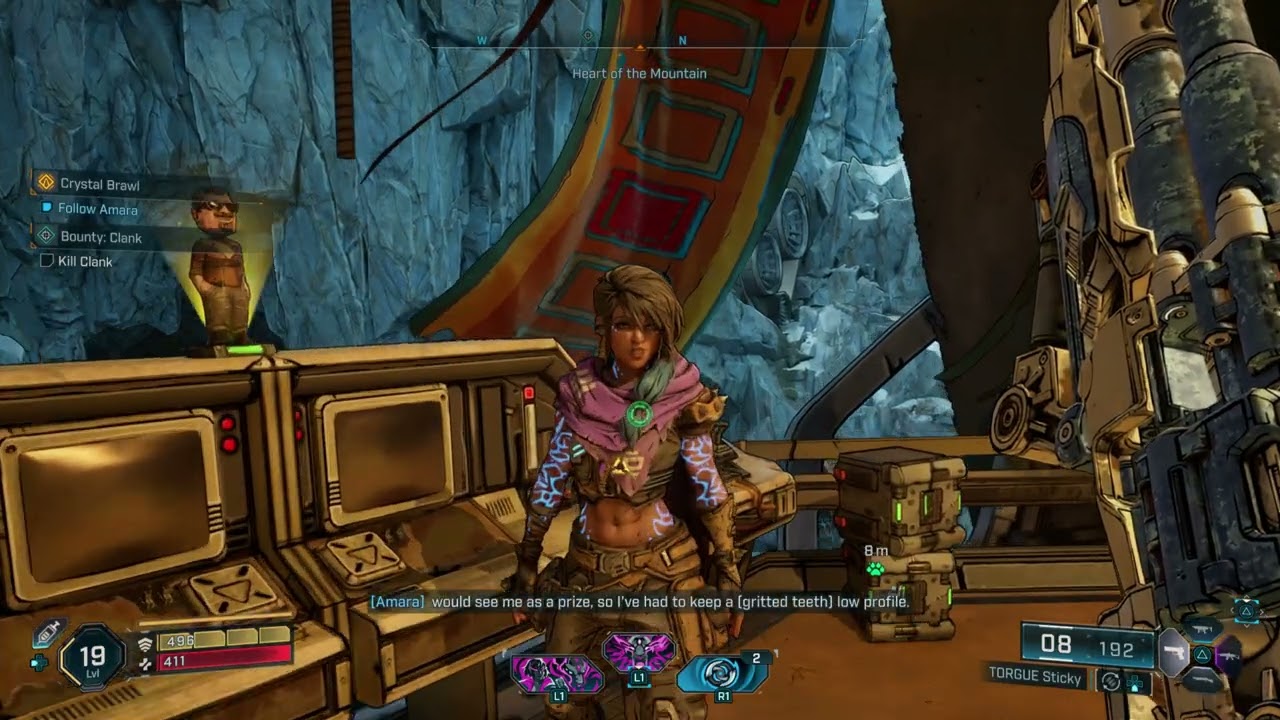
3. Follow Amara
After the cutscene, follow Amara into the building. She will lead you toward the moonfall site.
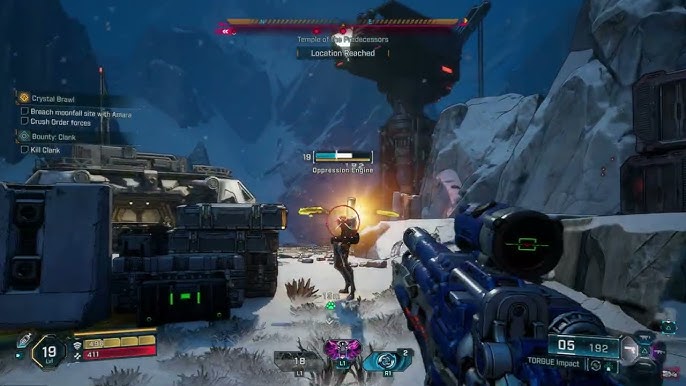
4. Meet Amara near moonfall site
After your conversation with Amara, head to the moonfall site to meet her at the designated location.
5. Breach moonfall site with Amara & Crush Order forces
Follow Amara to the next area where you'll need to eliminate all enemies in the first wave of Crush Order forces.
6. Breach moonfall site with Amara & Kill Order guards
A second wave of enemies (Kill Order guards) will spawn after defeating the first wave. Eliminate them all to proceed.
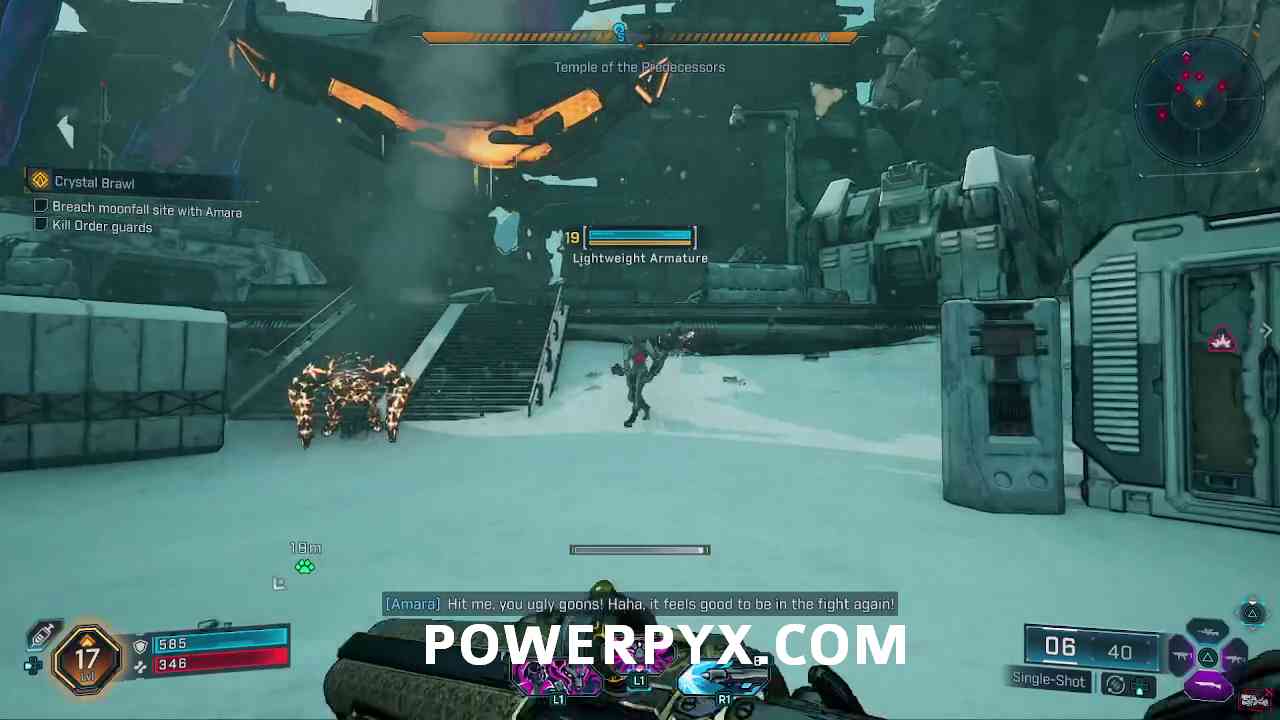
7. Breach moonfall site with Amara
After defeating the second wave, follow Amara until she stops at a door that she will open for you.
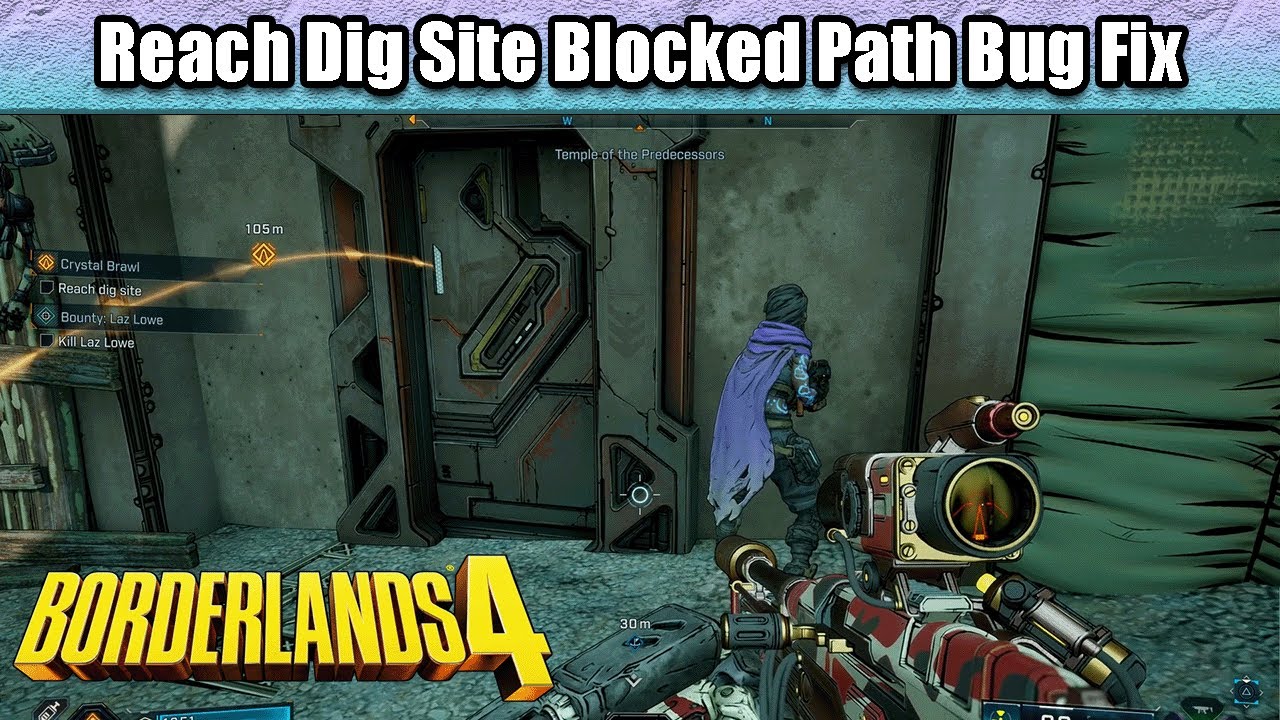
8. Reach dig site
Enter through the door that Amara opens to access the dig site area.
Destroying Power Generator and Optional Objectives
9. Destroy power generator & Kill dig site guards + Optional objective: Destroy Eridium mining drones
Once you reach the dig site, eliminate all enemies first. Before destroying the generator, you can complete the optional objective by destroying three mining drones located around the power generator.
First mining drone location:
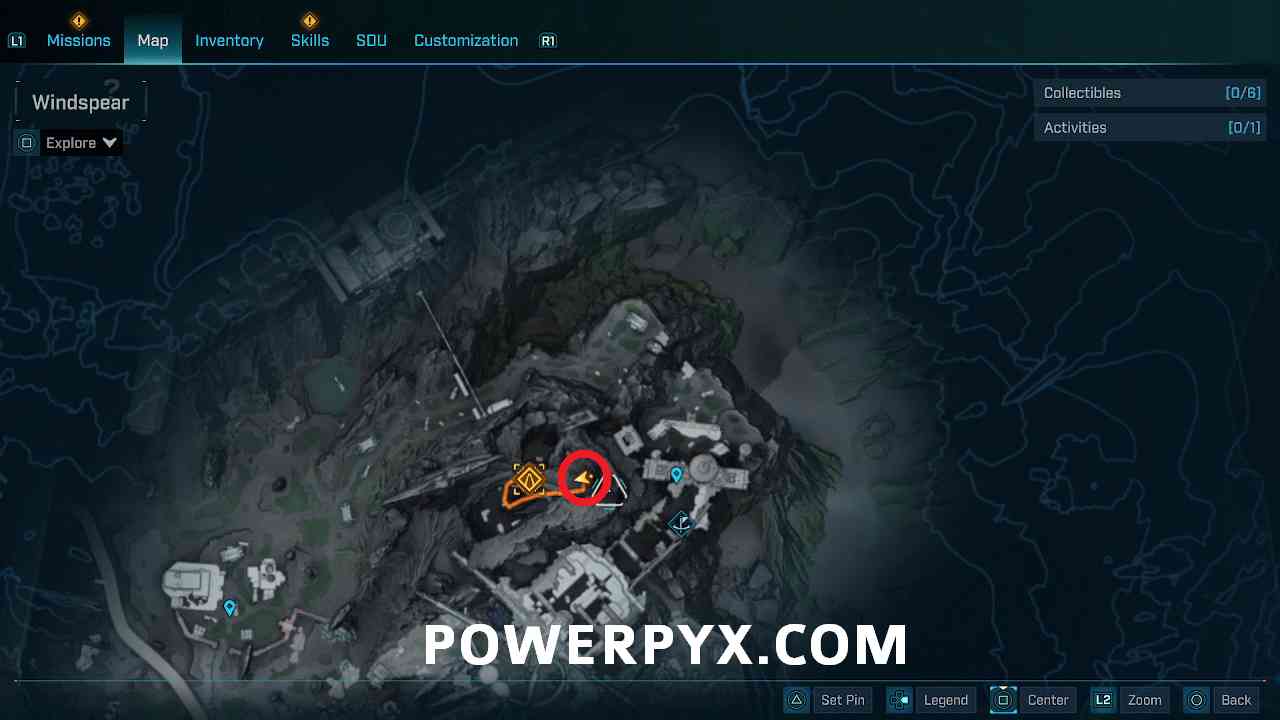
Second mining drone location:
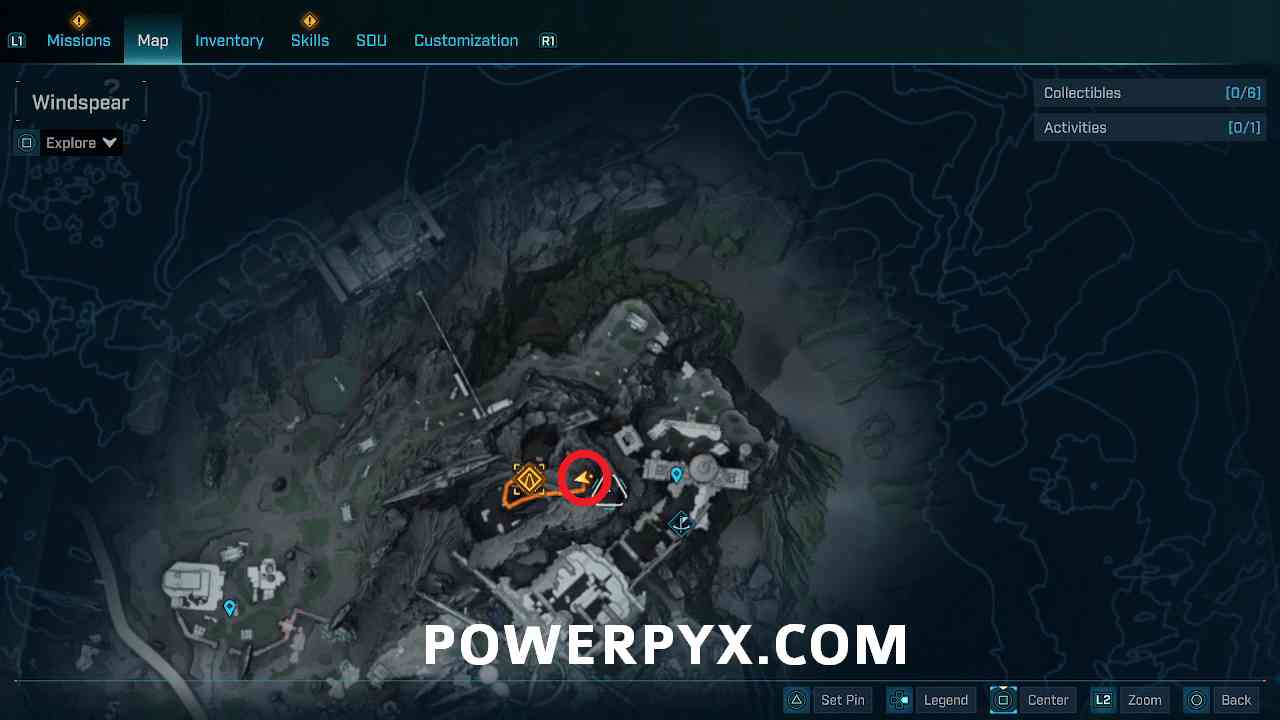
Third mining drone location:
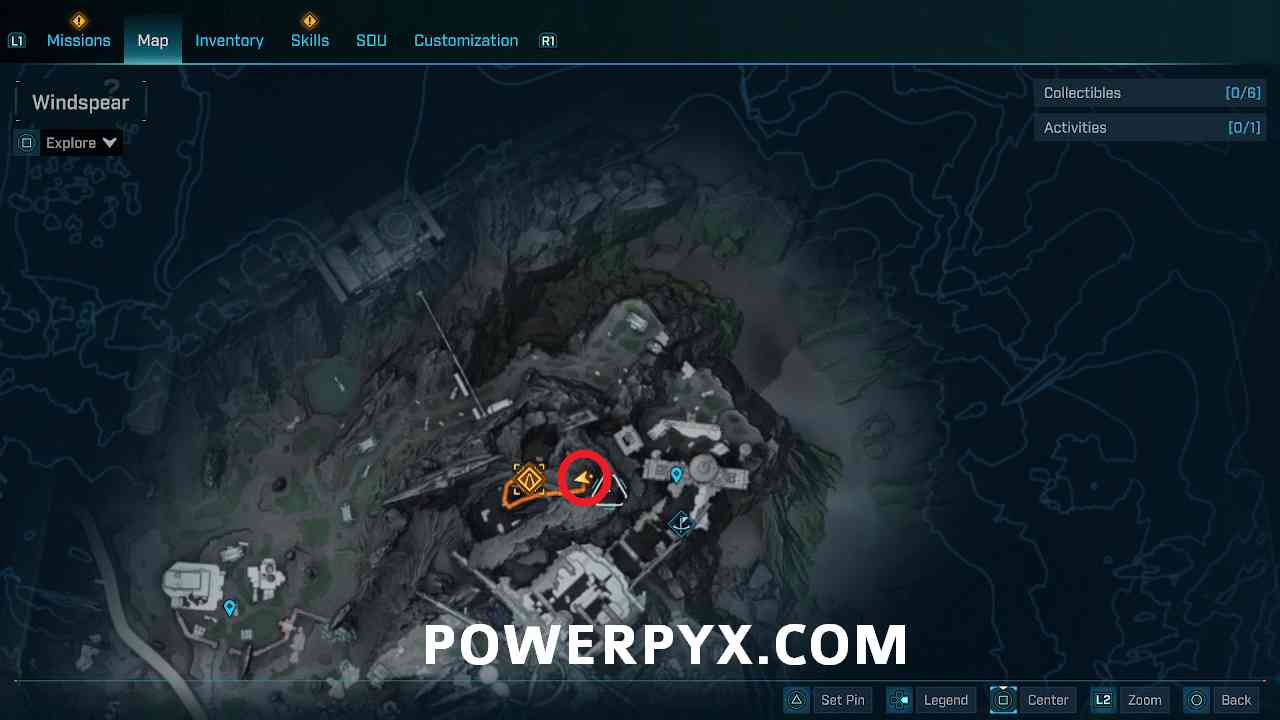
After dealing with the drones, destroy the power generator by shooting it until it explodes.
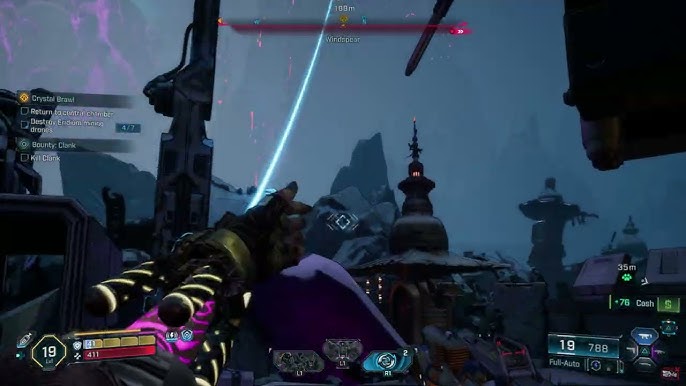
10. Reach next dig site + Optional objective: Destroy Eridium mining drones
Follow Amara through the first dig site. Right after leaving it, you can find the fourth mining drone behind a pile of eridium slightly to the left.
Fourth mining drone location:
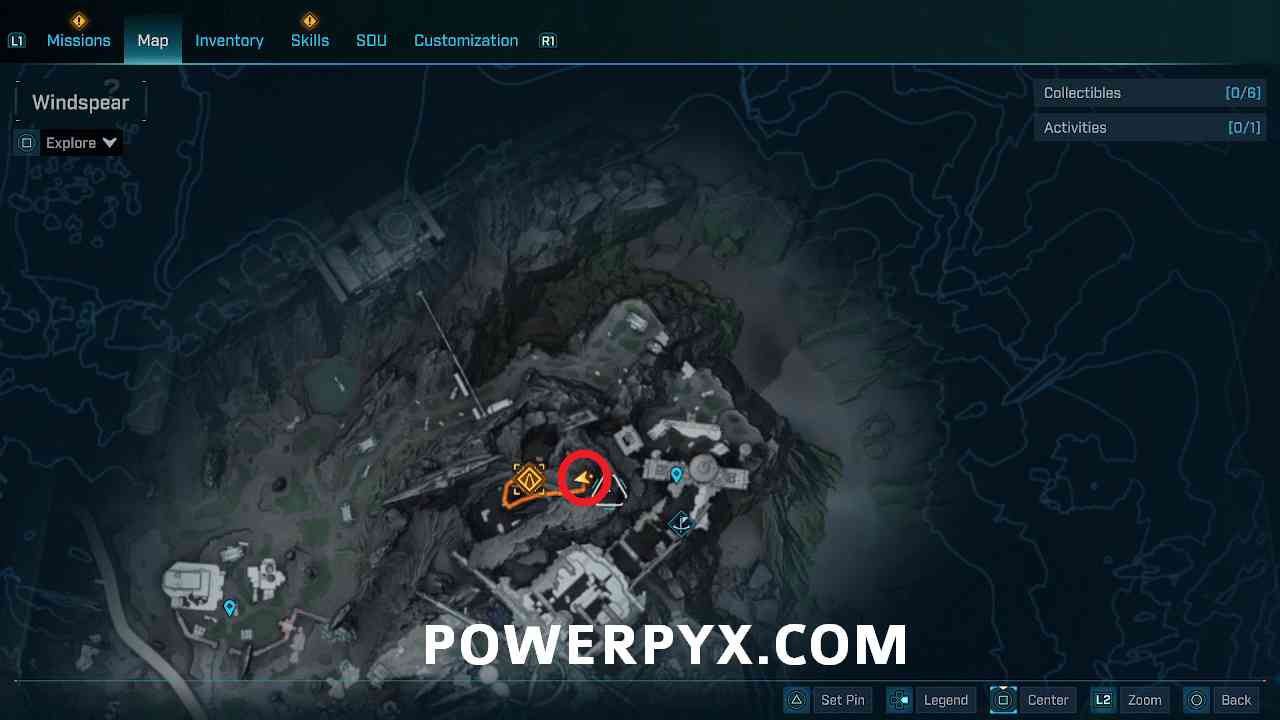
Amara will open a door next to the fourth mining drone. Go through the door to find the fifth mining drone on the left side.
Fifth mining drone location:
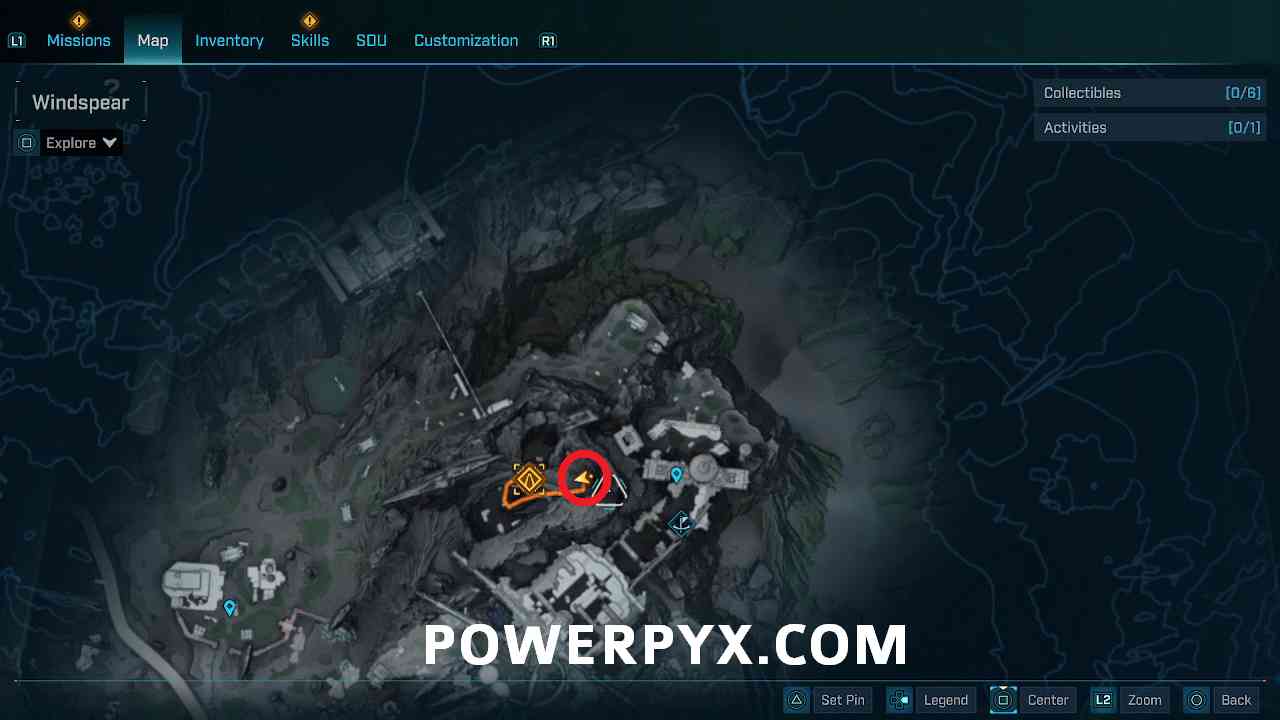
Follow the path to reach the next dig site where you can already see the last two mining drones.
11. Kill dig site guard + Optional objective: Destroy Eridium mining drones
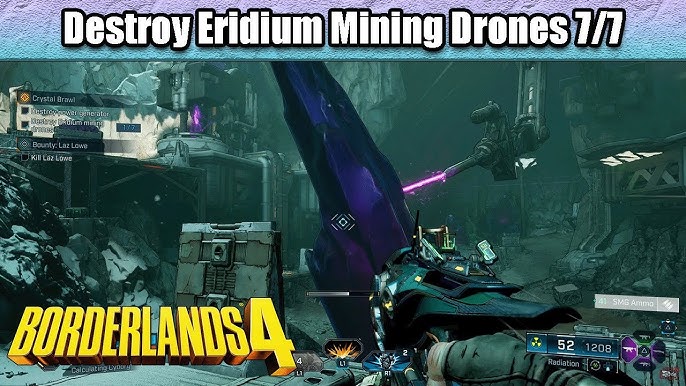
Eliminate all enemies in the dig site area. While fighting, you can destroy the remaining two mining drones to complete the optional objective.
Sixth mining drone location:
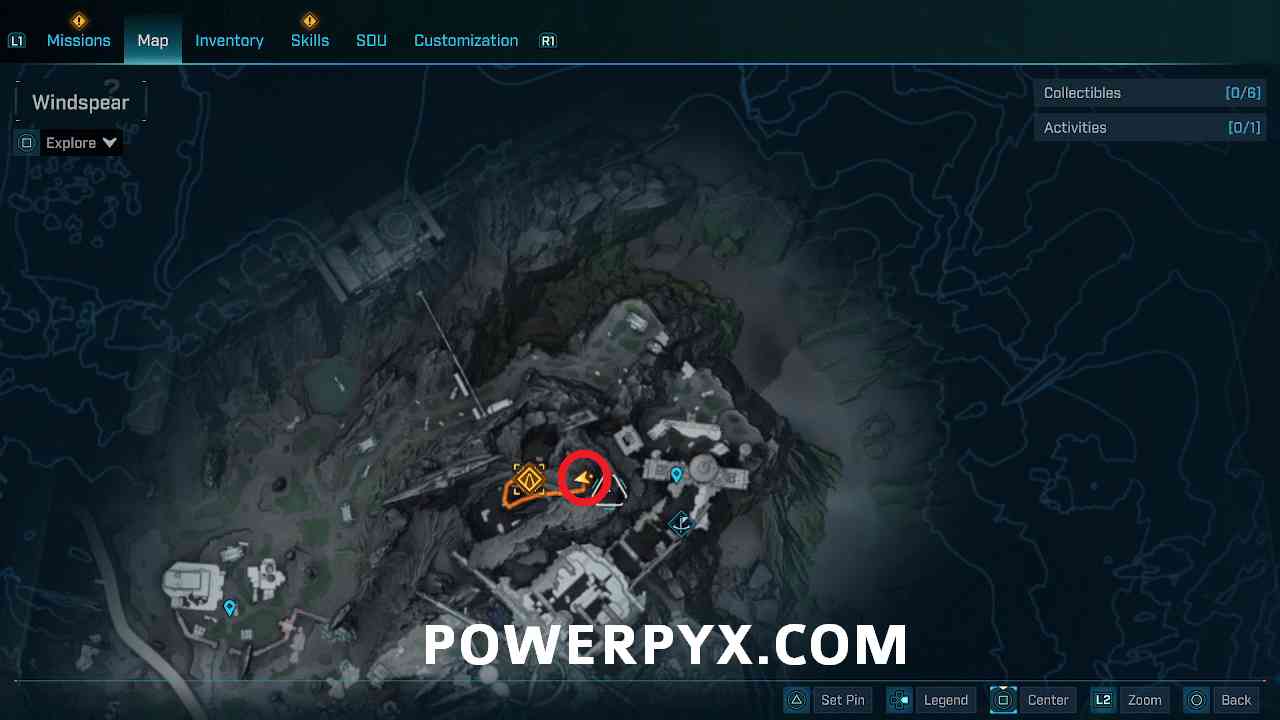
Seventh mining drone location:
12. Wait for Amara
After eliminating all enemies and drones, simply wait for Amara to complete her actions.
13. Return to central chamber
Head back to the area where you found the fourth mining drone to continue the mission.
Destroying Refinery Processors in Crystal Brawl
14. Destroy refinery processor
Enter the next area and shoot the main processor to begin the destruction process.
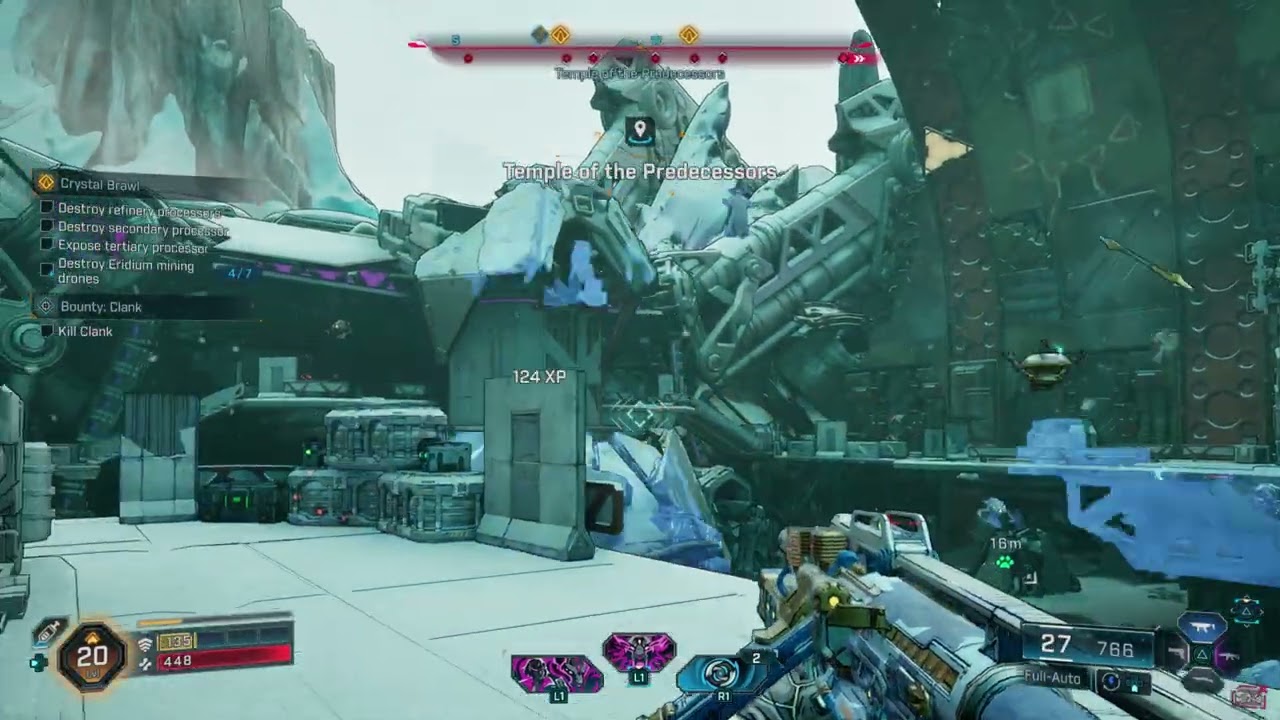
15. Destroy refinery processors, Expose secondary processor & Expose tertiary processor
Use your grappling hook to reach the left side of the area where you entered. Then jump and glide to the platform, executing a double jump and slam onto the platform to reveal the secondary processor.
16. Destroy refinery processors, Destroy secondary processor & Expose tertiary processor
Aim above you and shoot the secondary processor to destroy it completely.
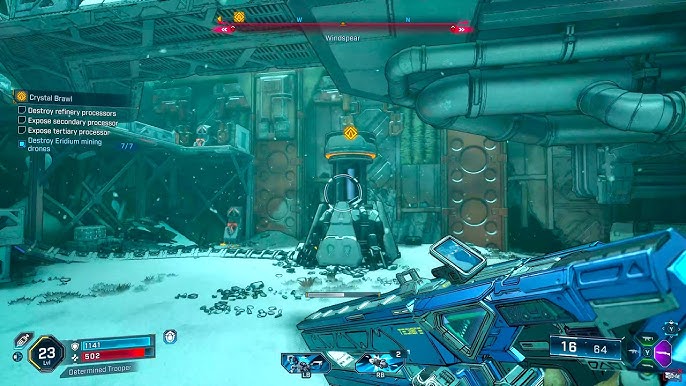
17. Destroy refinery processors & Expose tertiary processor
Head to the other side of the area and repeat the process: get onto the platform and slam it to expose the tertiary processor.
18. Destroy refinery processors & Destroy tertiary processor
Look above you and shoot the tertiary processor until it's destroyed.
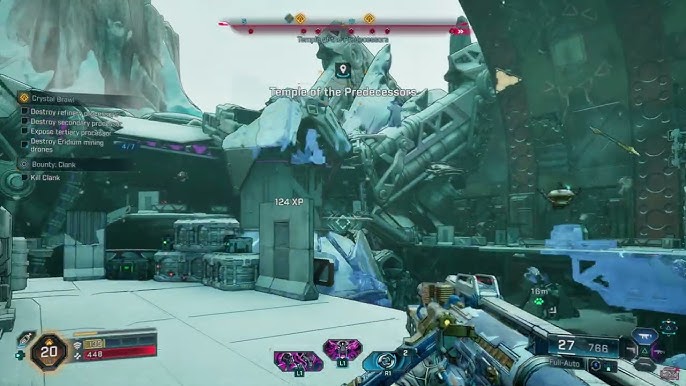
19. Destroy refinery core
With all processors destroyed, now target and eliminate the core in the middle of the area.
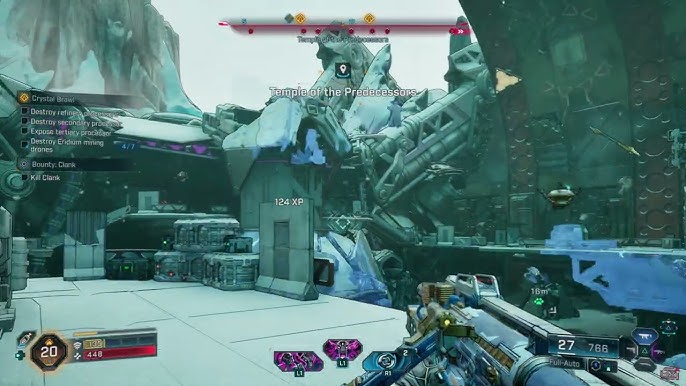
20. Leave dig site
Exit the dig site through the opening behind where the refinery core was located.
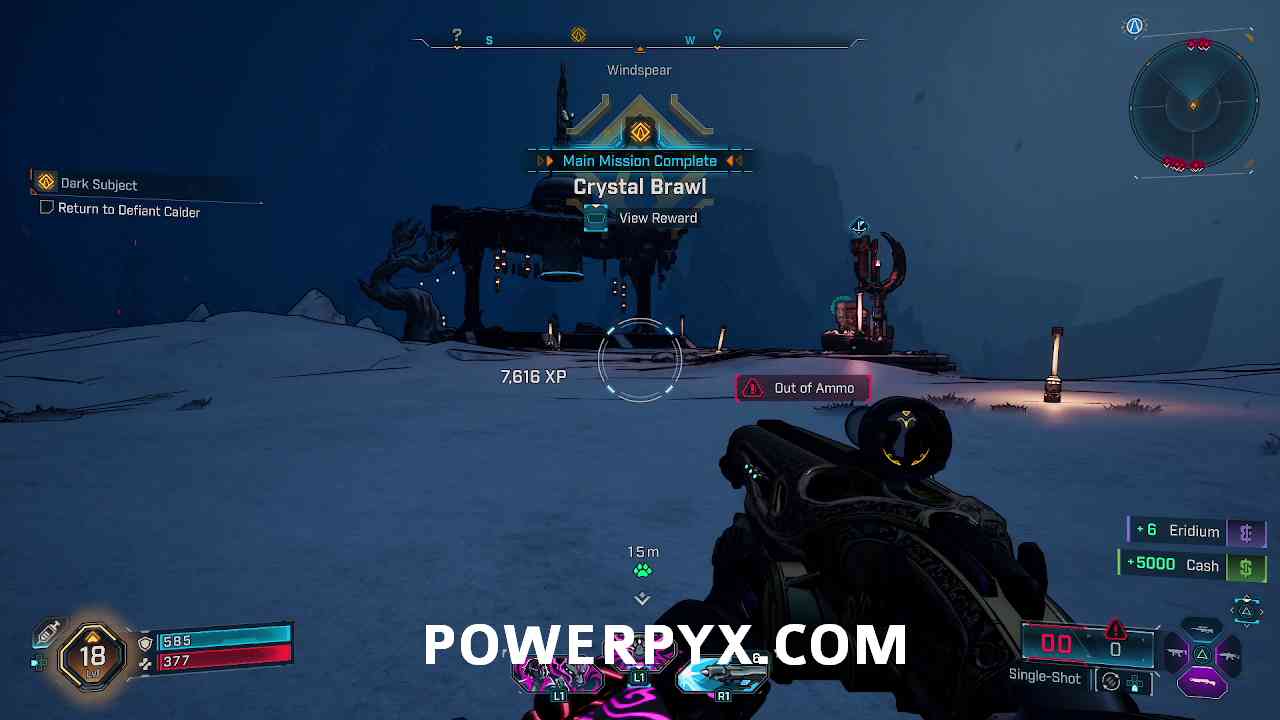
Completing Crystal Brawl in Borderlands 4
After leaving the dig site, the Crystal Brawl mission will be complete. You'll receive your rewards including XP, Money, Eridium, an Epic Shield, and the Augered Reality Vault Hunter Style.
Pro Tips for Crystal Brawl Mission
- Complete all optional objectives for bonus rewards
- Use corrosive weapons against mechanical enemies and drones
- Take advantage of high ground during combat encounters
- Upgrade your grappling hook and slam abilities for easier platforming
- Explore the area thoroughly for hidden loot chests
Congratulations, Vault Hunter! You've successfully completed the Crystal Brawl mission in Borderlands 4. Check out our other guides for more Borderlands 4 walkthroughs and tips.