
Borderlands 4: Bad Seed Walkthrough
Complete guide to finishing the Bad Seed side mission with detailed instructions and strategies
Bad Seed is a side mission in Borderlands 4 (BL4) that becomes available after completing Main Mission 18: Means of Ascent. This walkthrough will guide you through all objectives of the Bad Seed Side Quest, including strategies for combat encounters and puzzle solutions.
Mission Details
- Starting Location: Dominion > Carcadia District
- Quest Giver: Lysett
- Unlock Requirement: After Main Mission 18: Means of Ascent
- Reward: XP, Money, SMG (Green or Purple rarity)
- Quest Description: End world hunger with a single seed.
Bad Seed Mission Objectives
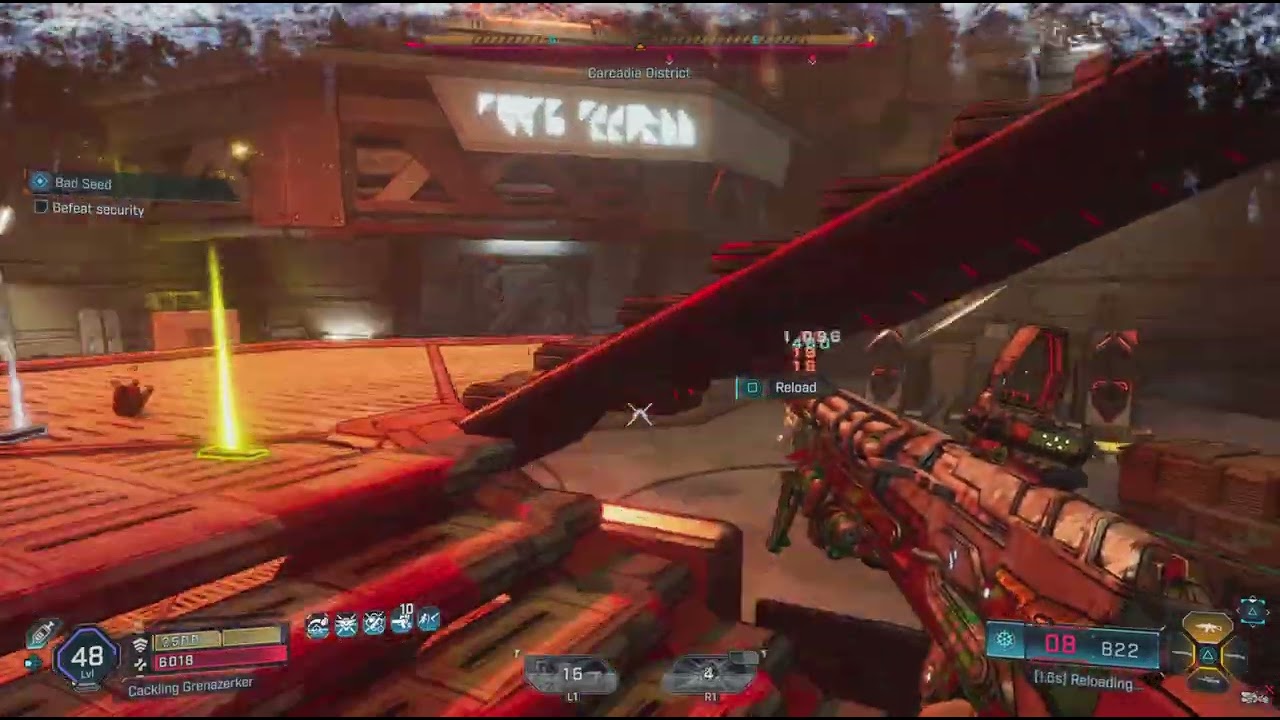
Starting Location: Bad Seed
The quest giver, a woman named Lysett, can be found in the north-east of Dominion's Carcadia District. She's on an elevated floor which you can climb from the north.

Main Mission 18: Means of Ascent must be completed first.
Take Bioengineered Seed
The quest giver puts out her hand and offers a seed - take it to begin your mission.

Note: This quest has several lengthy enemy encounters. If you're underleveled and enemies show red skull icons, consider coming back later after leveling up. Recommended level: 38+.
Complete Borderlands 4 Bad Seed Walkthrough

Reach Facility Entrance
The entrance is 200 meters north. It's up at a red gate where the yellow water comes from. Use the grappling points on the side to get up there. The location line will guide you to it.
Pro Tip:
Scan the area for loot chests before entering - there's often one hidden near the entrance.
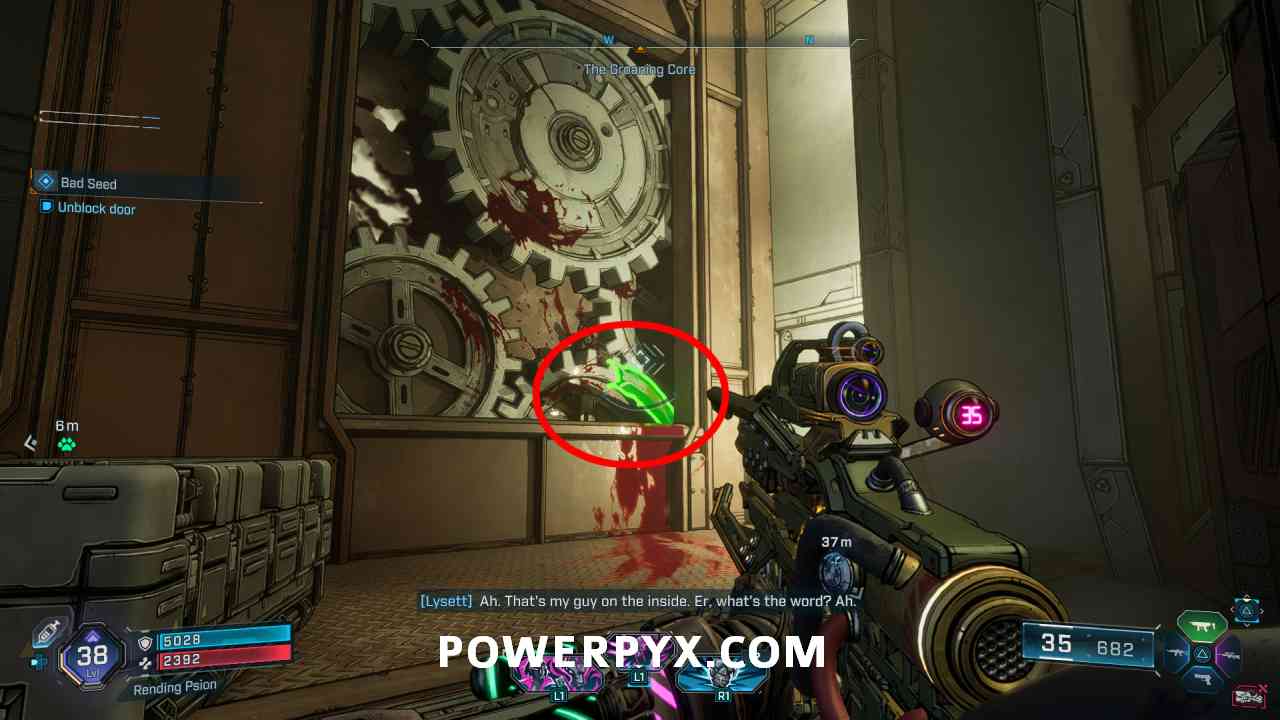
Open Facility Gate & Unblock Door
After you head into the first facility section, press the button at the gate. However, the gate is stuck and won't open. Go to the cogwheels in the north-west corner of the same room. There's a metal piece stuck inside the cogwheels - pull it out.
Location Hint:
The cogwheel mechanism is behind a partially hidden panel - look for yellow markings.

Make Your Way Into Facility
The gate will now open. Head inside and climb the ladder at the end of the room on the right. In the next room use a grappling point, climb a ladder, and another grappling point to enter an air duct. Here pull the grate and drop down the air duct.
Warning: Enemies will spawn in the next area - be prepared for combat.

Defeat Security Forces
Kill all enemies in the room. This is a lengthy fight with many enemies. Use cover and focus on weaker enemies first to reduce the number of attackers.
Combat Strategy:
If you're severely underleveled and enemies show a red skull, consider coming back later after leveling up or co-op play.
Hack Security Console
Jump up the platform in the middle of the room and use the computer, it will be outlined in green. This will disable additional security measures.
Tip:
After hacking, quickly turn around as enemies sometimes spawn behind you.

Enter Maintenance Shaft
Straight ahead of the computer, enter the tunnel. Be cautious as there are environmental hazards along the path.
Warning: Watch out for the engine fire along the path - time your movement between bursts.

Reach Transistor Capacitator & Spin Turbines
Go through the tunnel to reach the transistor capacitator. Grapple the points on the turbine, two times each to make them spin. This powers up the facility systems.
Puzzle Solution:
You need to grapple each turbine until it reaches maximum speed - listen for the audio cue.
Return to Transistor Room & Defeat Reinforcements
Go back to the previous enemy room, more enemies will spawn here. Kill the new wave of enemies. These are typically better equipped than the first group.
Strategy:
Use area-of-effect weapons and abilities as enemies tend to cluster together.

Overcharge Transistor
Go through the door where the reinforcements came from, on the north side of the room. From there go upstairs to press a button in the command room.
Warning: The overcharge process will trigger alarms - be ready for possible additional enemies.
Enter Core Room & Defeat Facility Director
Leave the room through the south side, opposite where the reinforcements spawned. That's the core room. More enemies appear, kill everyone. The director is the main enemy and has a lot of health.
Boss Strategy:
The director has a powerful shield but weak spots on his back. Use corrosive weapons for increased damage.

Complete The Seed Process
After the fight, interact with the green outline on the yellow glowing machine in the middle of the room to put the seed in core. Then use the switch upstairs behind the yellow machine to overcharge core. Finally, grab the seed from the machine floor.
Note:
The overcharge process creates an explosion - stand back after activating the switch.

Leave Facility & Mission Completion
After picking up the seed, the quest giver will call you and tell you to come see her again. The quest will end here immediately. She will offer the follow-up quest Bad Seed Pt. 2 later in Fades District (southern part of Dominion).
Reward: You'll receive XP, money, and an SMG (Green or Purple rarity) for completing this mission.
Borderlands 4 Bad Seed Gameplay Video
Video guide showing complete walkthrough of the Bad Seed mission
Borderlands 4 Bad Seed Tips & Strategies
Recommended Loadout
- • Corrosive weapons for mechanical enemies
- • Shock weapons for shield stripping
- • Area-of-effect grenades for groups
- • Health regeneration gear for sustained combat
Secret Areas & Loot
- • Check behind the turbine room for a hidden chest
- • Break boxes in the maintenance shaft for extra ammo
- • Climb pipes in the core room for a unique weapon skin
- • Defeat the director without taking damage for achievement
Completing Bad Seed in Borderlands 4
The Bad Seed mission in Borderlands 4 offers a substantial side quest with challenging combat, interesting puzzles, and worthwhile rewards. Following this walkthrough will help you navigate the facility efficiently while maximizing your loot collection.
Remember to return to Lysett in Fades District after completing Main Mission 18: Means of Ascent to access the follow-up quest, Bad Seed Pt. 2, which continues the story of the bioengineered seed.